Contents
Why make plastic sleeves for your books?
If you live in a place like I do, you'll be sick and tired of dust and dirt. It seems like all you have to do is look away, and there is a thin layer of dust on everything even though you just cleaned. How are you supposed to care for books this way?
Not only is this annoying, but it is also bad for books. Dust is hygroscopic. This means it attracts moisture. Since dust is also made up of small bits of organic matter (among other things), it means that between the moisture and the organic debris, dust will encourage mould growth.
You might have seen it too. The tops of all your books get these tiny brown, reddish or black dots over time. Sometimes, even the side edge. But the bottoms look the cleanest. You can blame a mixture of dust, oxygen, moisture and book composition for these.
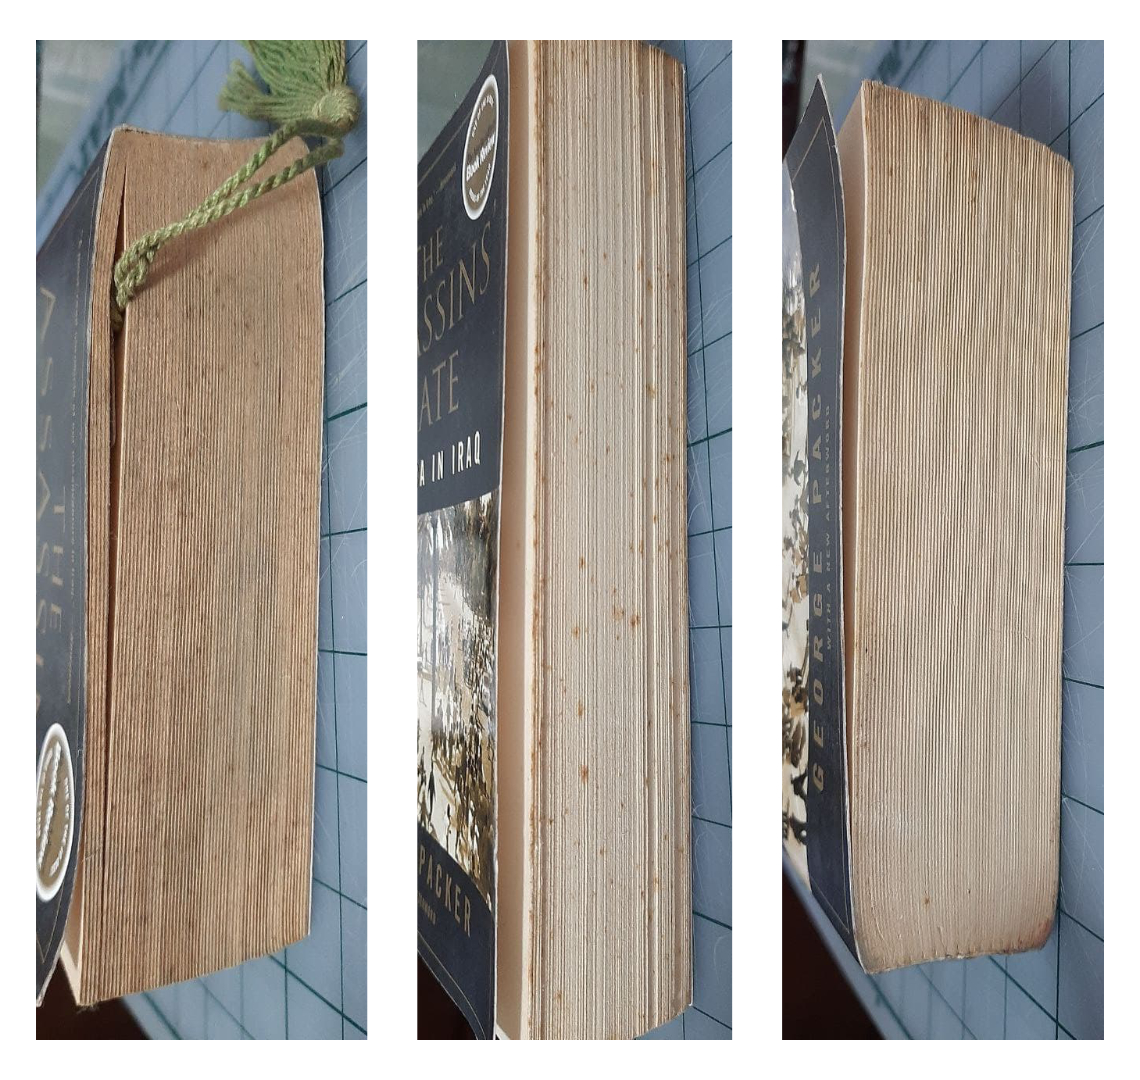
Differential book damage on a book I own and never wrapped. Top (left), edge (centre) and bottom (right) of the book. Notice the top has gone darker and has spots. The edge has lots of foxing spots. The bottom still retains original colour and has almost no spots.
You might not be able to do much about book composition, but you can at least protect the surface of your books from dust settling on them directly and setting off these ugly spots.
Important note: Ventilation is always important when trying to keep things mould-free. So keep in mind, as we learn about these book sleeves, that they should not be wrapped too tight as this can compromise ventilation.
Additionally, look at at how plastic shrinkage over time could pull at your book covers and damage them. This cover is now less wide than the rest of the book. This is easily solved by making sure you don't tighten up your wrapping right against the covers when you fold. Try to make sure you buy polyethylene or polyester only, which are the best to use from a conservation perspective.
I am aware that there are somewhat expensive, commercial, automatic machines that will make cool sleeves for books and that some archives and libraries use them. However, this is aimed at the rest of us for whom it would make no sense to spend that kind of money just for our own personal use.
Materials
- Stable plastic (polyethylene or polyester) non-adhesive film
- Scissors
- Box-cutter (just for cutting out the piece of wrap you will need)
- Acid free tape or regular scotch tape if you're not that bothered
- The book you want to wrap, obviously
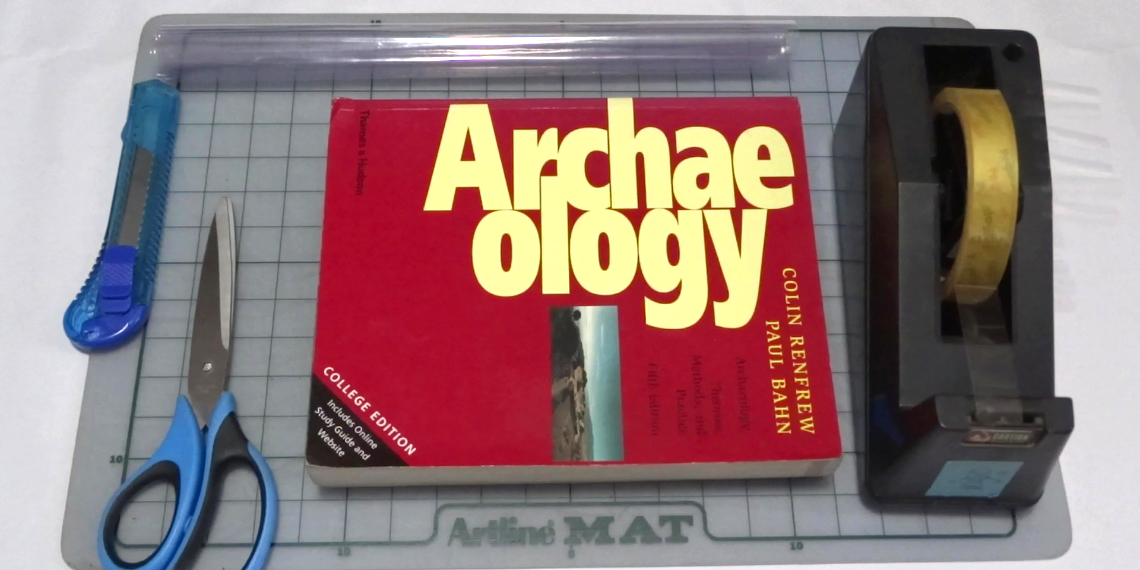
Materials you will need. Do not buy self-adhesive plastic film. Remember that this process is meant to be entirely reversible and is not intended to affect your book directly in any way. Keep in mind that regular adhesive tape can be acidic and that even the non-sticky side of it against the back of your book could, after many years, leave a tape-shaped stain. If this is something you definitely don't want, make sure you opt for acid-free tape instead.
Important note: Choosing the right materials is extremely important.
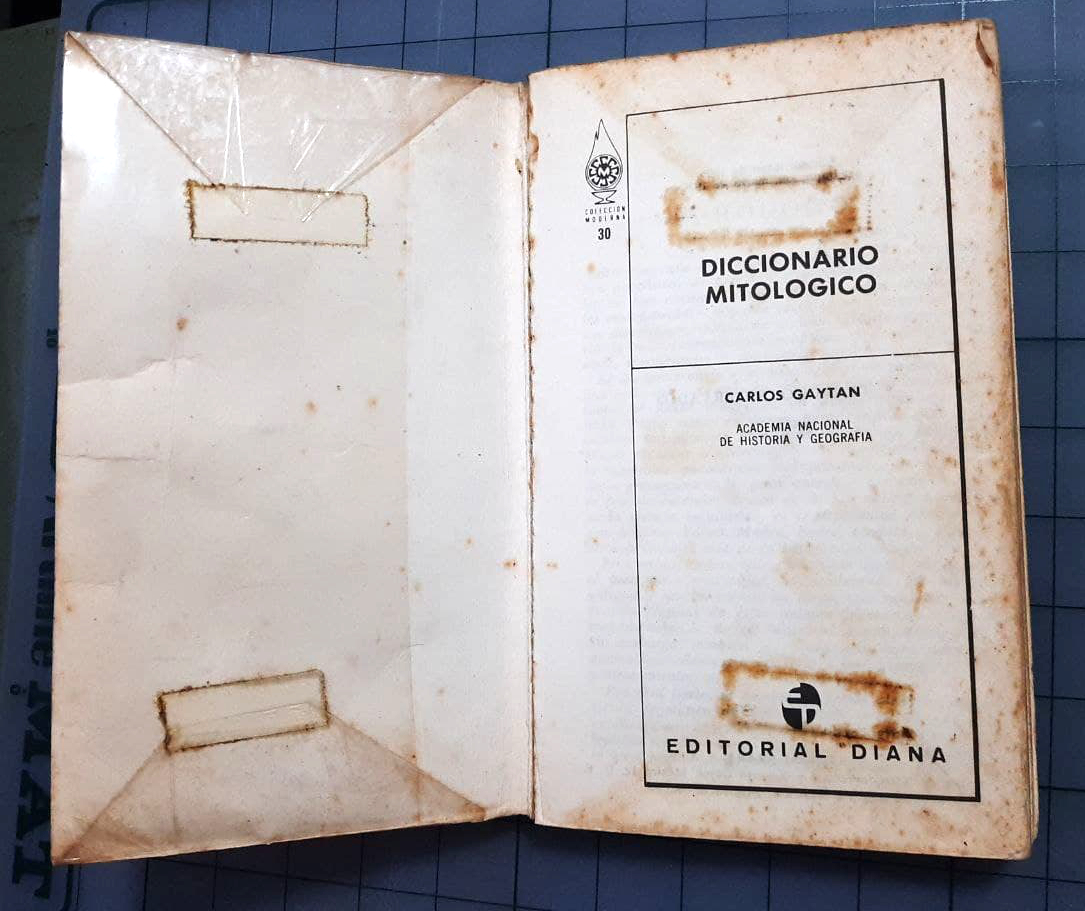
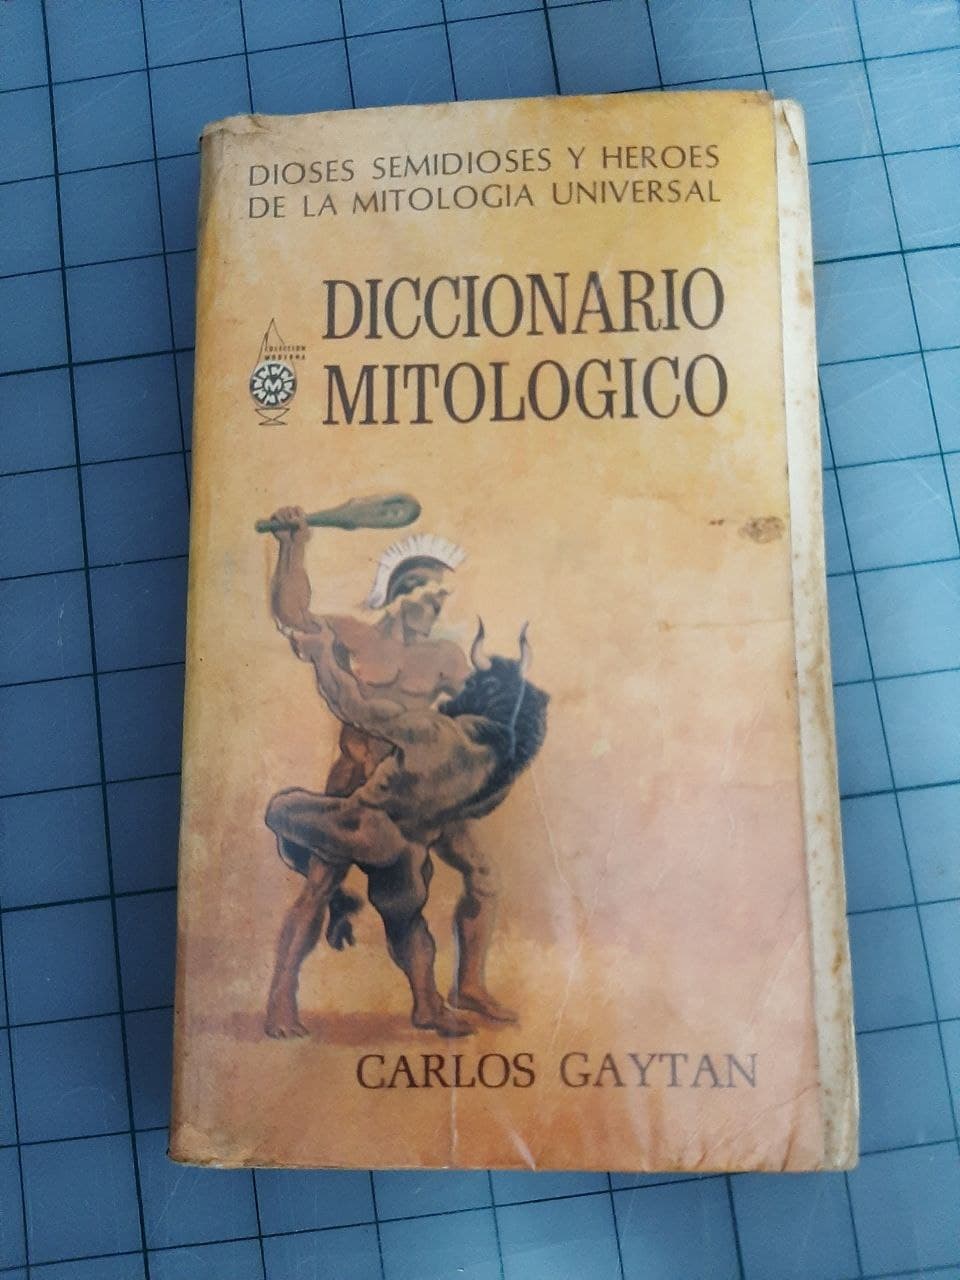
Look at this old book in my personal library. It was probably wrapped back in the 60s, 70s or 80s. The plastic (probably PVC) and tape used were not acid free and even though the tape is not stuck directly on the book (which would be worse), it has still managed to stamp it. It is interesting to note how the damage seems to have acumulated on the edges, where dirt must have accumulated due to the edges of the adhesive.
Video examples
Here are a couple videos I made to show the whole process. They completely unintentionally came out as ASMR bookwrapping videos, so do enjoy if that's something you like. I apologise for the quality, but I'm still figuring out the video aspects of all this.
Book 1 example
Book 2 example
Step-by-step instructions
1 - Measure
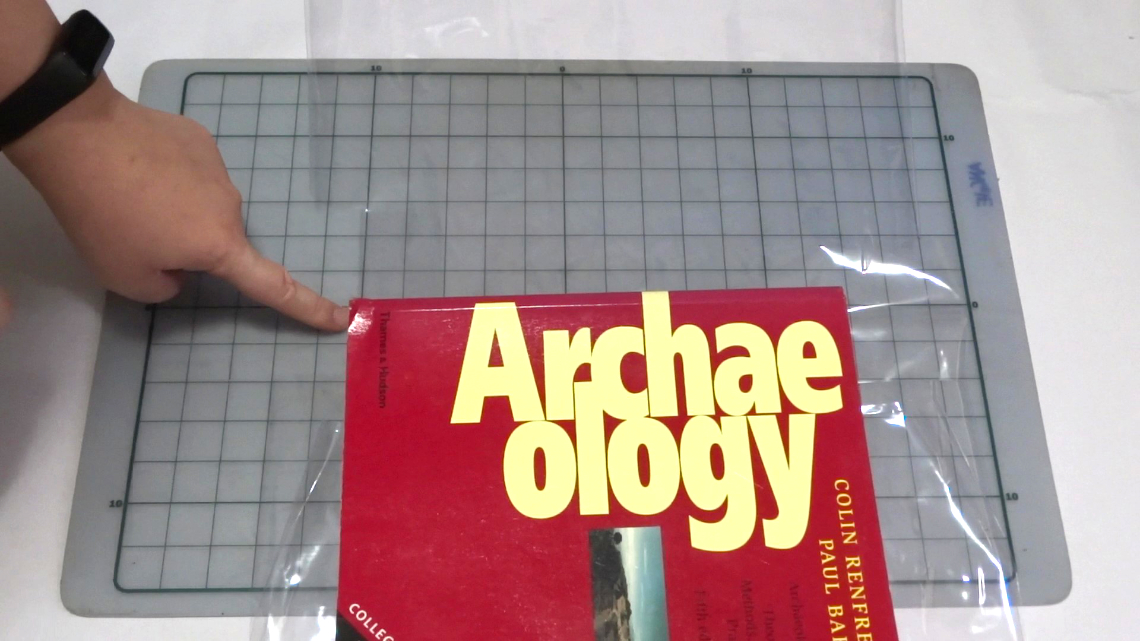
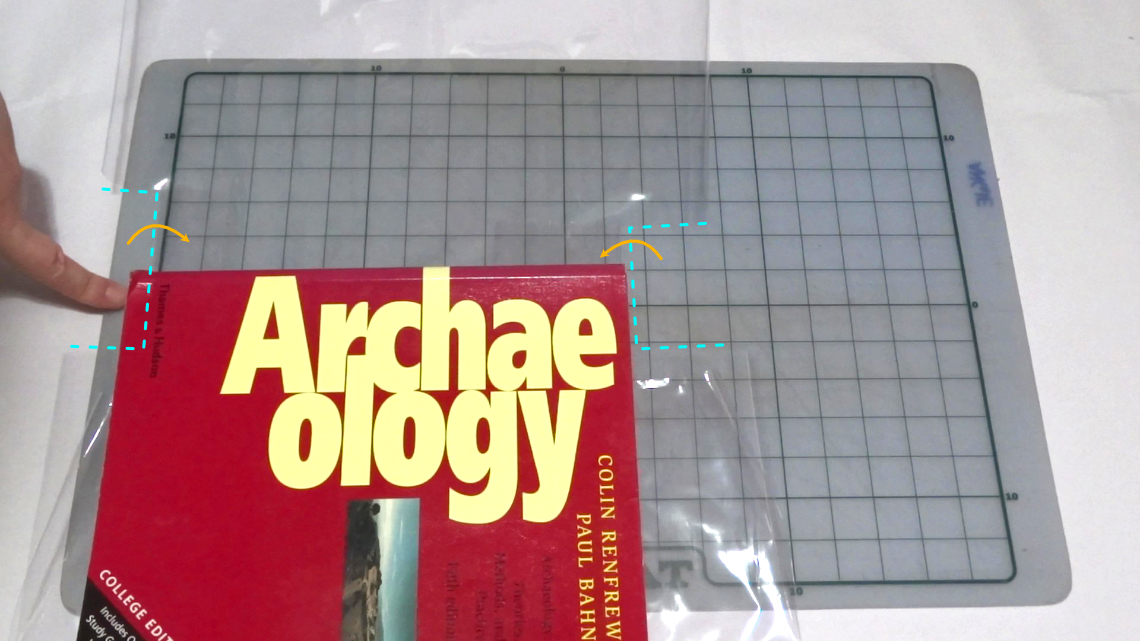
Know the measurements you need. Make sure you know the size of your book in all 3 dimensions: Length, width and height. Make sure you add a few inches in every direction so that the sleeve is not a tight fit and allows your book some space to move.
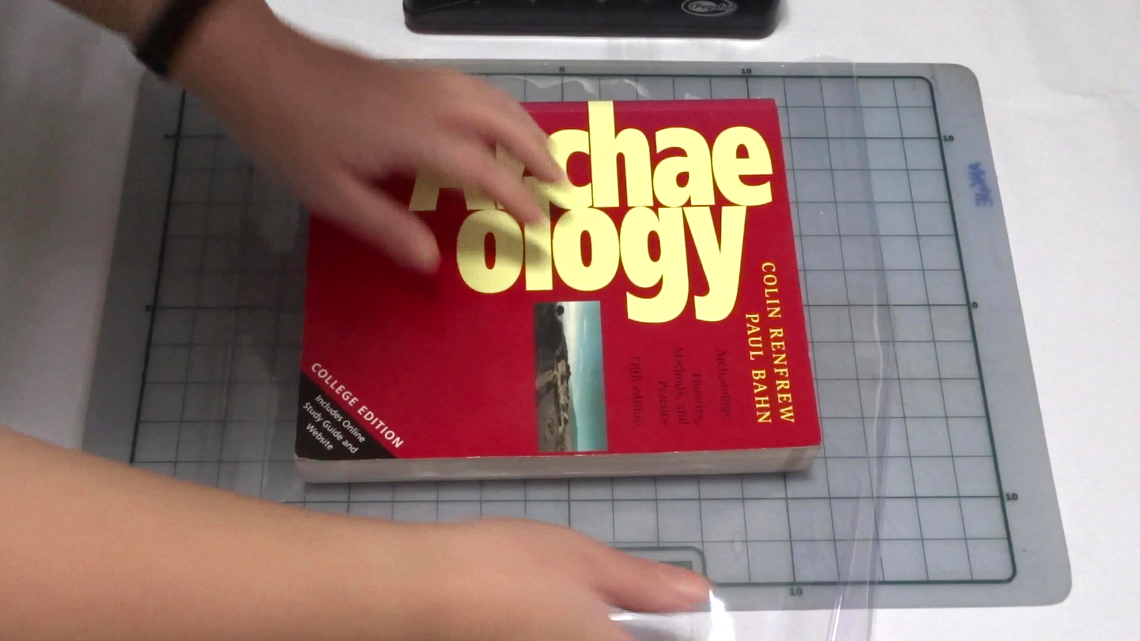
Make sure you have enough wrap on all sides to cover the book. Give it a good 2-3 inches (8cm or so) for the bottom and sides while for the top use the thickness of your book plus another 2in (5cm). You can also make the sides wider if you want the book covers to be more protected.
Make sure you have enough wrap on all sides to cover the book. For the top edge, in particular, make sure the extra goes completely over the thickness of your book plus an extra inch (3cm) or so. This is necessary for the final top flap that will protect the top of the book.
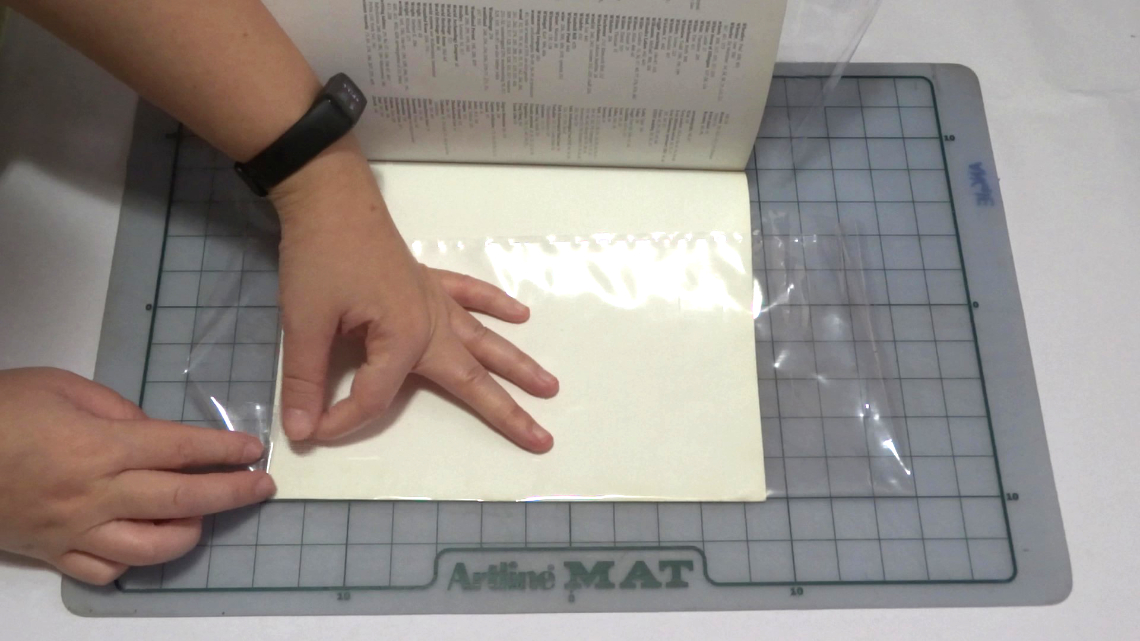
2 - Fold
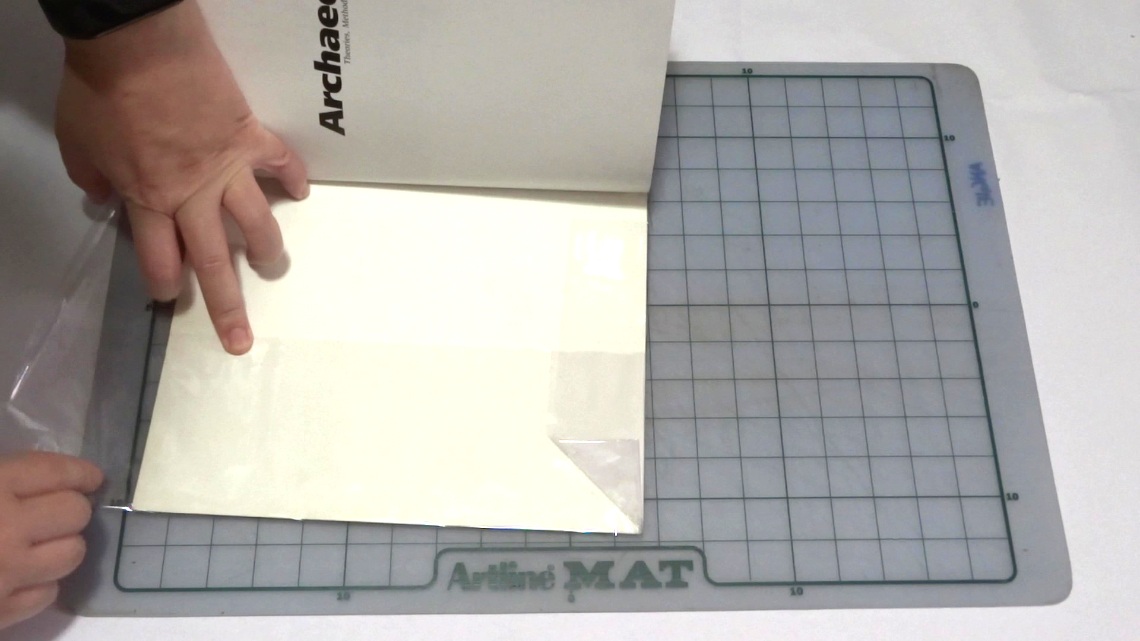
Place your book over the flat, open wrap and fold the edges over the end flaps in the same way commercial book sleeves cover books. This will leave you with edges on the top and bottom sticking out.
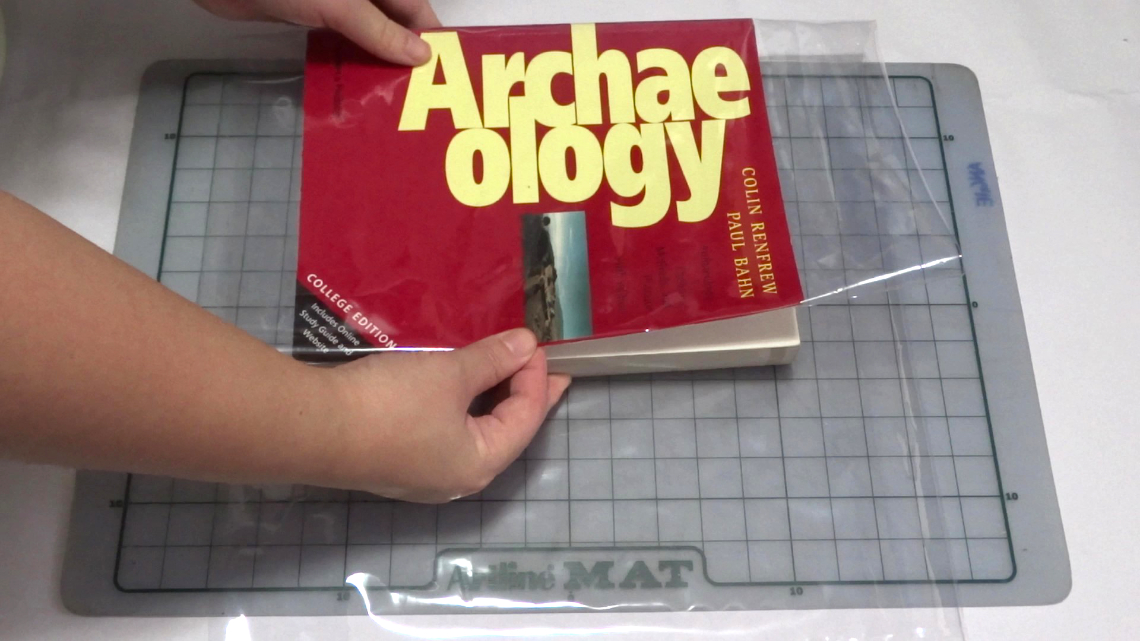
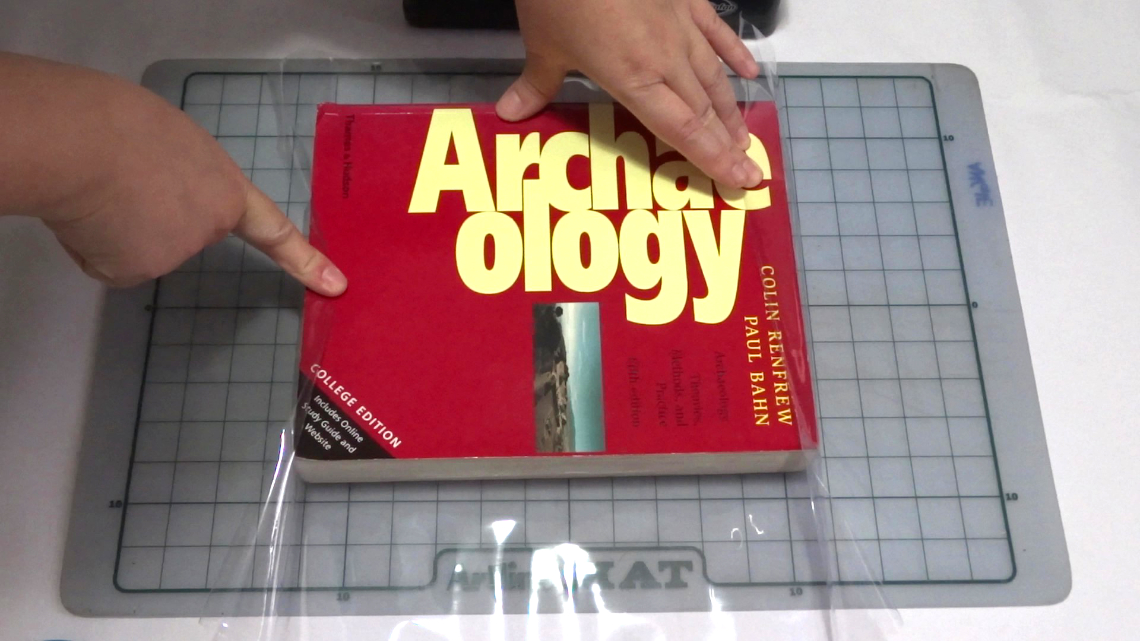
3 - Make windows
Since it would not be possible to bring up the wrap on the covers of the book with the plastic edges coming all the way around, you will need to make little "windows" close to the spine which will be folded in so we can get them out of the way.
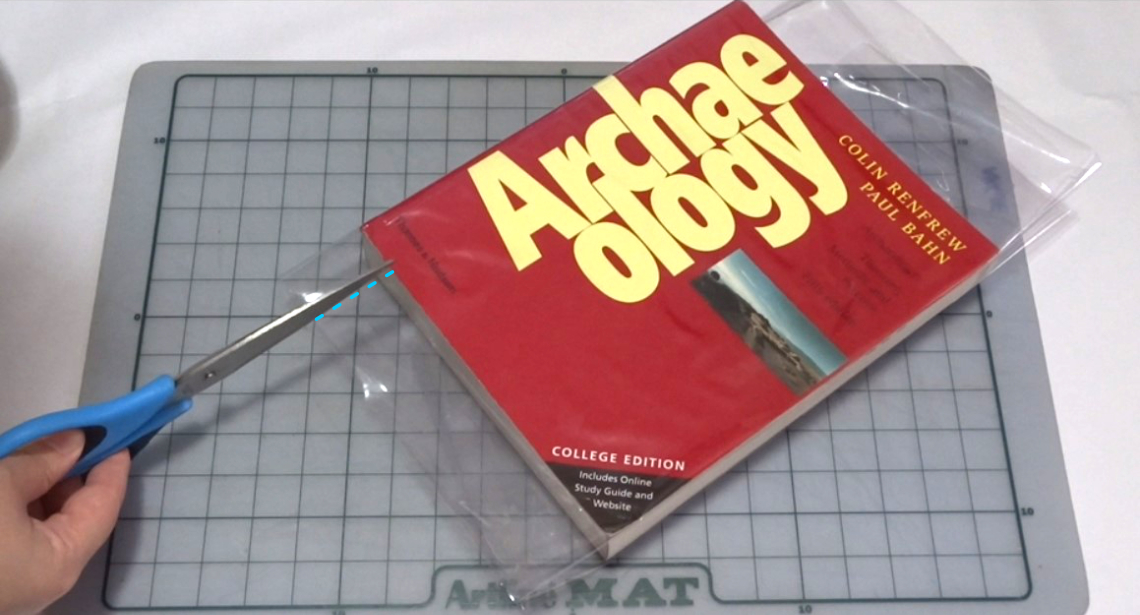
On the bottom edges of the book, make a small cut in the plastic up towards the edge of the book. Make it about an inch away from the spine. Repeat the procedure for the bottom back flap.
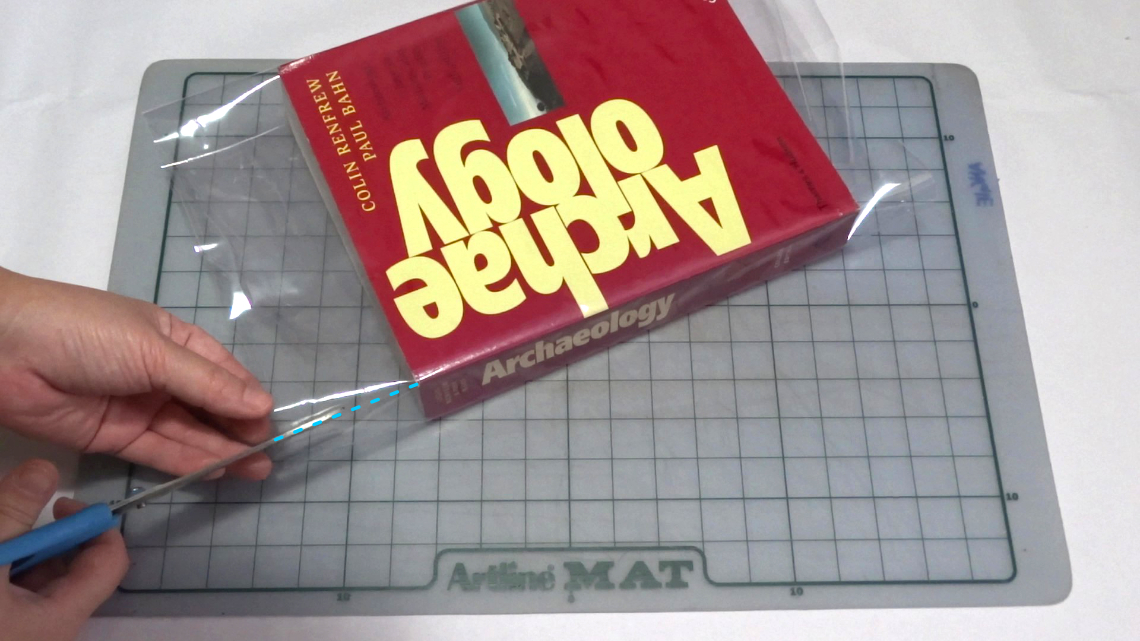
On the top edge of the book, the window will be slightly different. Since we intend to use this top part to make a flap to protect the whole top edge of the book, align your front small cut in the plastic with the front corner of the book. Make the back flap cut about an inch away from the spine as you did for the bottom of the book.
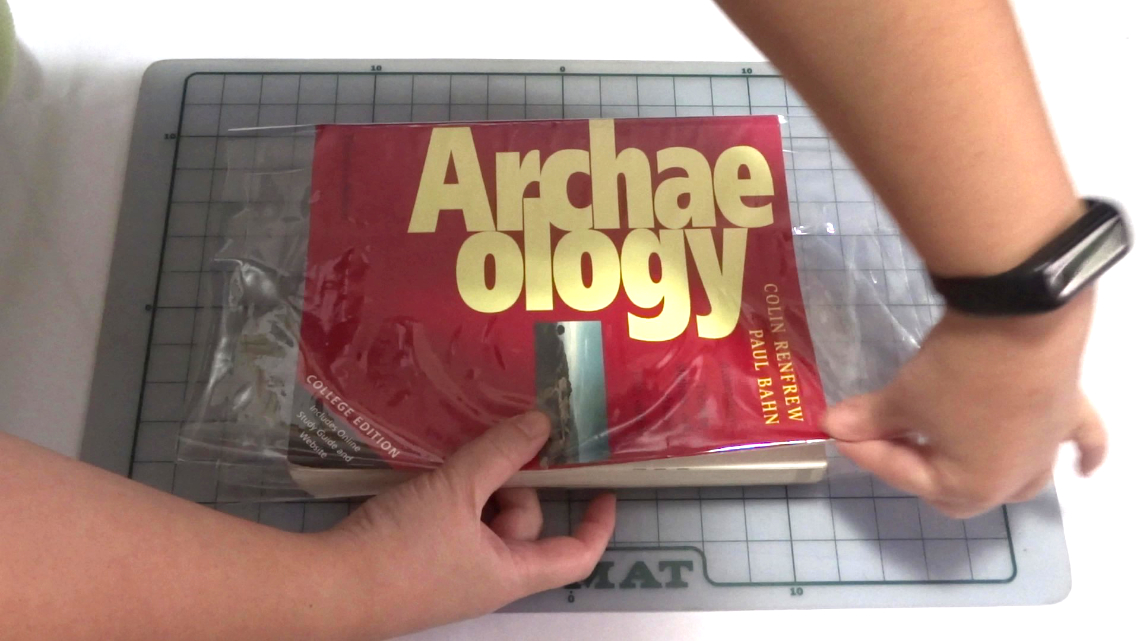
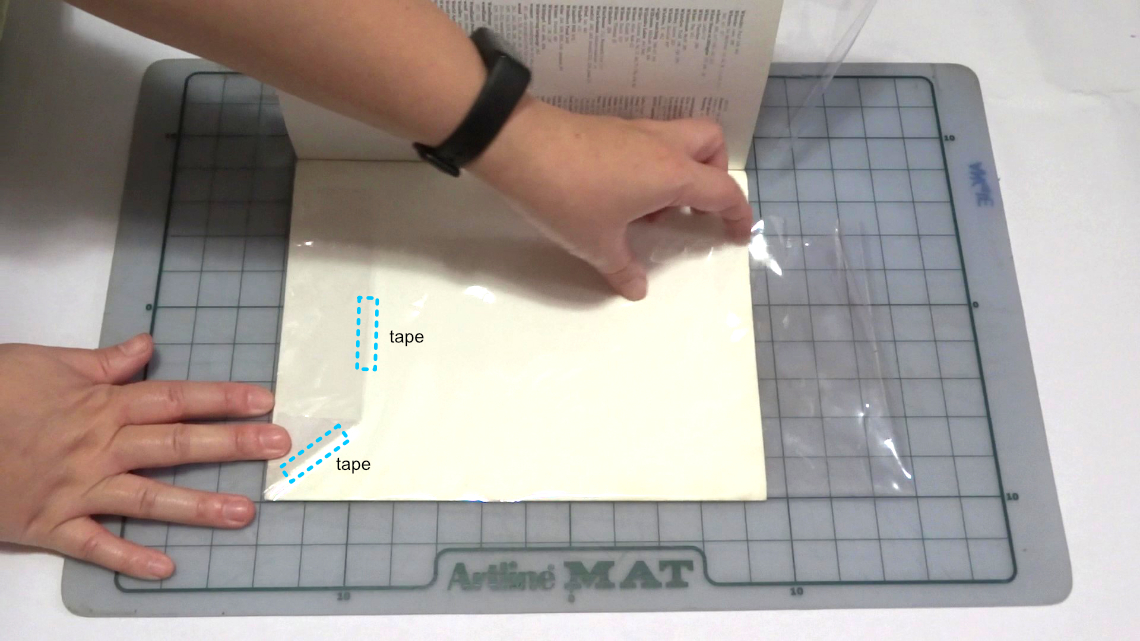
4 - Fold in windows
Once you have cut in your top and bottom "windows," open up the plastic wrap and fold the windows in.
You should be able to see how that "window" I mentioned is being folded up and will end up inside the wrapping.
Note that the top window (right) being folded in is smaller than the bottom one (left). This is to account for the full flap that will protect the book at the top.
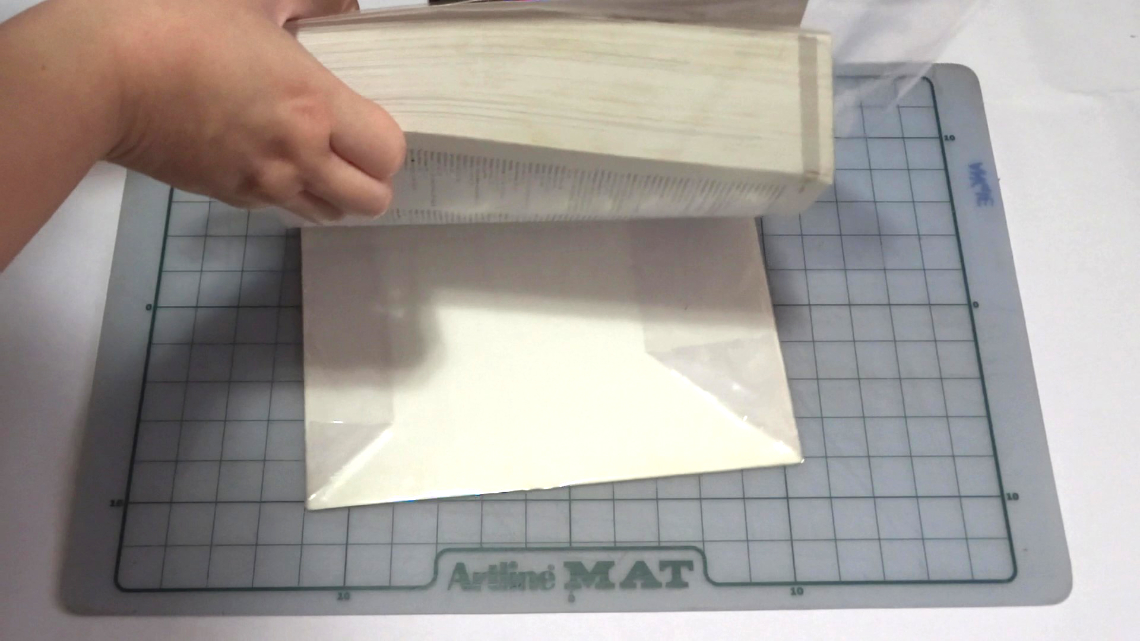
5 - Close the sleeve at the back
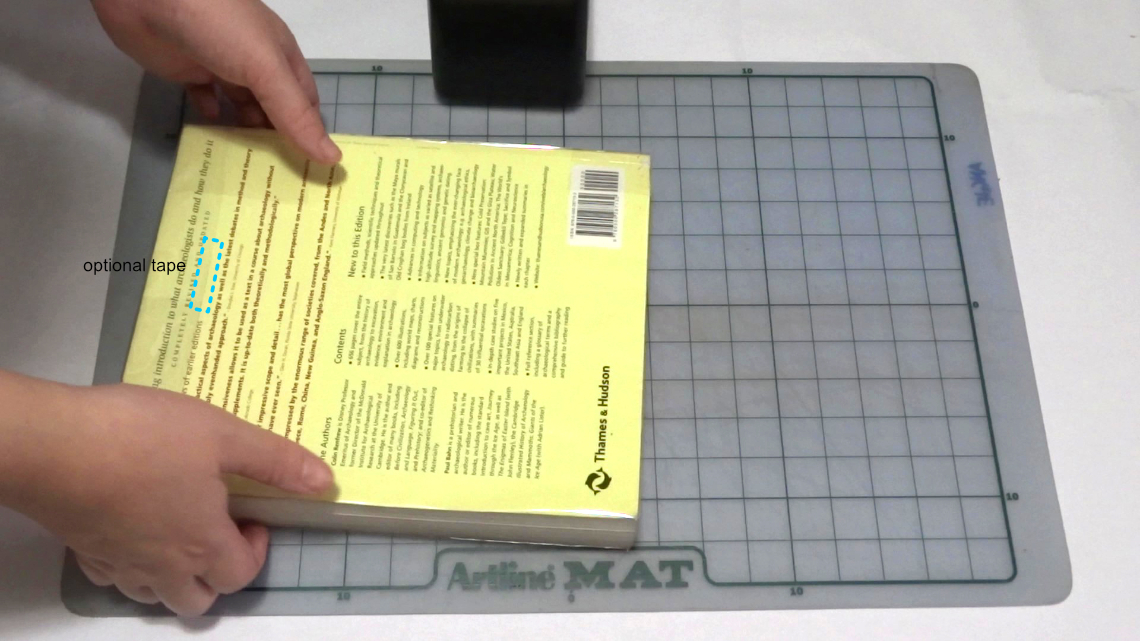
Once you have folded in both top and bottom "windows," bring the wrapping back like a book sleeve.
Now we can start closing the sleeve.
Folding in the back bottom of the sleeve. Make a little triangle fold at the corner and fold the whole flap up. Secure it to the sleeve with a small bit of tape. Do NOT allow your tape to touch the actual book. Remember you are only taping the plastic wrap to itself, and not to the book. This will allow you to remove the wrap in the future if it ever became necessary without damaging or touching the book at all.
Repeat the same process with the top edge at the back of the book.
This is how the back of your book should look at this point.
6 - Close the sleeve at the front
For the front of the book, you will repeat step 5 for the bottom part.
This is how the bottom of the front of your book should look at this point.
However, for the top part, just fold the whole top in, without any triangle folding. Don't tape it. You're just generating that fold so it will sit nicely on top of the book.
Open the top flap back up, close the book, and bring the flap over the outside of the book and to the back. You may now decide to put a small bit of tape here to close up that flap if this is a book you don't often use, or you may leave it sitting there just like that.
7 - Final result
Habemus plastic book sleeve!

This is your finished wrapped book. Thanks to that top flap we made, even when you stand it in the bookshelf, the top will be protected from superficial dust and will make cleaning much easier.
Make sure you watch the videos up at the top in case the photo instructions were not entirely clear.
If you liked this post, you can follow me on Twitter where I'll be posting more content on how to improve your collections at home.