
Why make your own boxes?
Sometimes, you won't be able to find the exact size of the box you need for an object or set of objects.
The acid-free boxes available commercially will be either too big or too small for your shelves or for your objects and getting bespoke sizes can be a bit pricier.
In these cases, it's best to just make an archival box yourself. It's not difficult! Below, I give you some basic instructions to make your own boxes.
Materials
- Archival board / acid-free board
- Box cutter
- Ruler (ideally metallic) and right angle ruler
- Protected surface
- Pencil and eraser
- Linen tape
- Brass pins
- Awl or something to make small holes
Step-by-step instructions
1
Know the measurements you need. Make sure you know the size of your object in all 3 dimensions: Length, width and height. Make sure you add a few inches in every direction so that the box is not a tight fit and allows you to put in other packing material to cushion your object (polyethylene foam or acid-free tissue paper). Make sure your corners are 90° or your box will not come out straight.
2
Draw the basics of your lid. You basically need 2 squares (or rectangles), one inside the other, with the lines going all the way to the edges to denote where the flaps will bend.
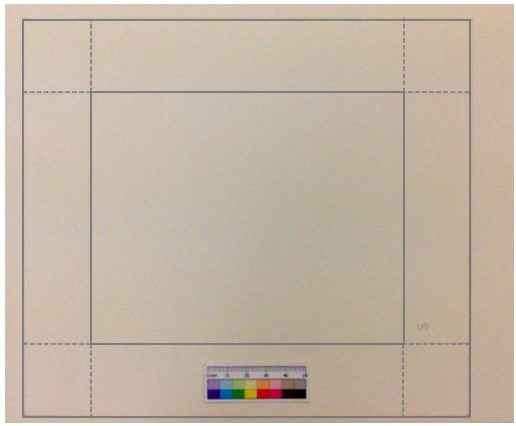
Lid drawing. Make sure the corner squares/rectangles formed by your drawing all have the same length or they will not fold accurately.
3
Cut only one side of each of the corners that will make up the flaps. Make sure you don't accidentally leave a side without its corresponding flap.
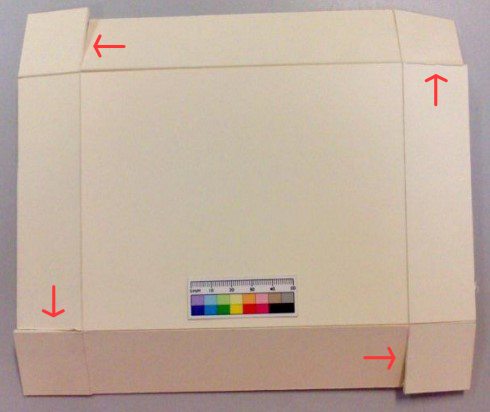
Lid drawing with cut edges
4
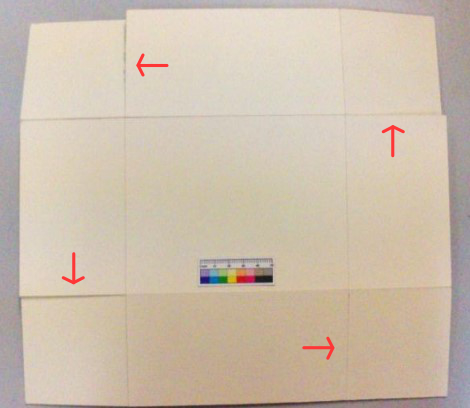
Repeat the steps to make the base of your box. Remember that the size of the outer square will determine the height of your box. Make sure you make the inside square 5mm smaller on each side to ensure a tight fit with your lid.

Base drawing. Note the thicker outside square for box height.
Base drawing with cut edges. Again, make sure each side has its flap.
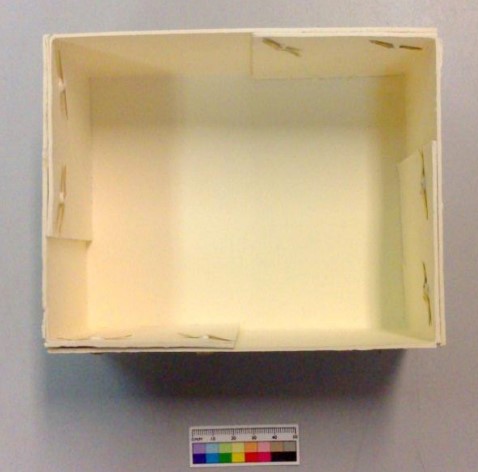
5
Abuse all the folding lines a bit by passing over them with a blunt point. Then, fold up the flaps and use an awl to make small holes that will hold the lid and base together. Make sure the holes align. Insert brass pins.
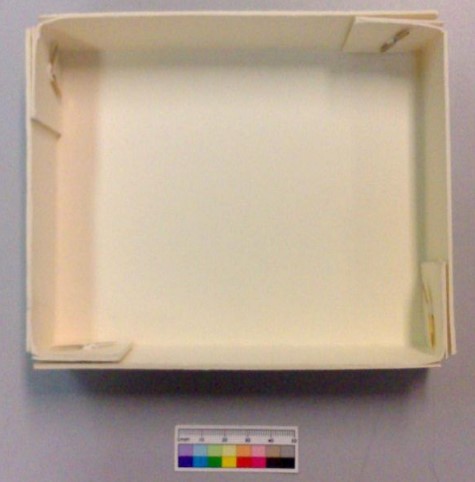
Lid with brass pins.
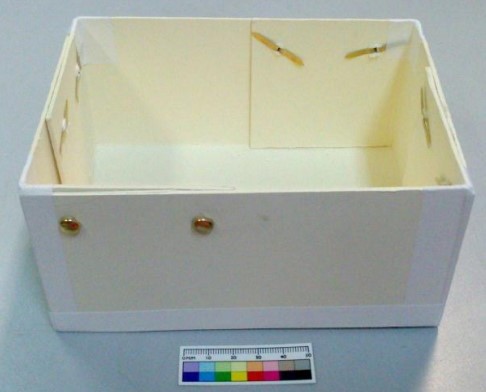
Purposefully place your pins on different side corners in the lid and box to avoid double thickness of brass pins when attempting to close the box.
Base with brass pins. Note that they do not align with the location of the pins on the lid.
6
Reinforce the lid and base edges with linen tape.

Outside of the lid reinforced with linen tape. Note again, in comparison with the base below, that the pins are located in different corners so they will not line up when the box is closed.
Outside of the base reinforced with linen tape. Note that some tape is also holding down the edges of the brass pins.
7
Habemus bespoke box!
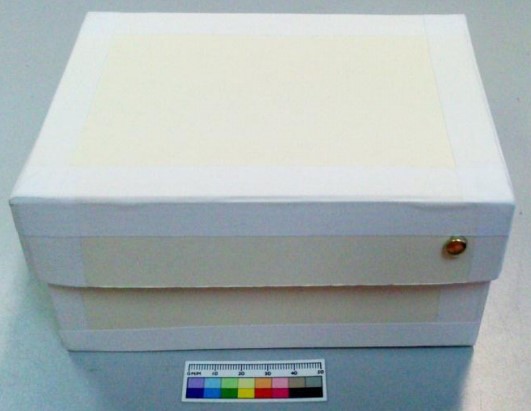
Finished closed box.
If you liked this post, you can follow me on Twitter where I'll be posting more content on how to improve your collections at home.