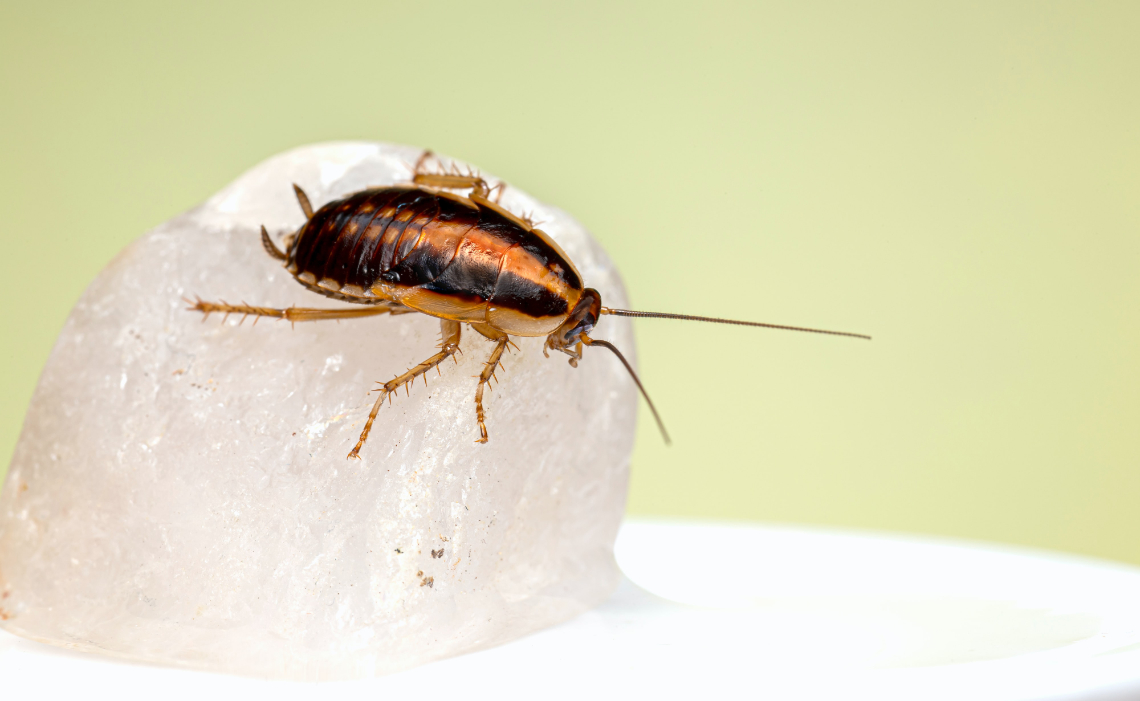
Photo by Erik Karits on Pexels.
Contents
Why make your own sticky traps?
Maybe you want to start learning how to run your own Integrated Pest Management programme at your small institution or even at home. Maybe you can't buy commercial sticky traps for whatever reason. Maybe you just want to learn how to make sticky traps.
This option allows you to recycle old card stock or cardboard in order to make your own traps with household items.
However, make sure that the cost of buying the traps balances out vs. the amount of time you need to make your own. Make sure that you are not creating false economies by making your own traps to save a few pennies at the expense of your time.
Important note: Because these are homemade traps, they will depend on the strength of your adhesive or the adhesive tape you pick. These traps will never be as strong as commercial traps and are meant only as a last resort.
Materials

Materials you will need to make your own traps.
- Card stock / recycled, thick paper
- Box cutter or scissors
- Ruler (ideally metallic - save your fingers)
- Protected surface for cutting on
- Pencil and eraser
- Regular adhesive tape
For the sticky bit
- 2in / 5cm wide adhesive tape
Make sure it is transparent enough for you to be able to look at the insects later. The choice of tape is a trade-off between visibility and adhesive power. Duct tape will be very strong, but it will make it harder for you to look at the insects caught.
OR if you can spend a bit
- Any goo that will not dry up over time. Please make sure it is safe for use. I have seen this being sold, but I have not used it myself. When you use commercial products, please follow all instructions. I am not earning any money from this link.
- You could go for sticky rolls too if you want to make tons of traps.
Note on animal cruelty
Sticky traps in IPM as used in museums and heritage institutions are used in order to monitor and keep track of different pests that may affect organic collections - namely different types of beetles and moths. These counts are important for institution-level management of pests that could destroy important collections. If you will be using traps at home or for any other personal reason, please be aware that the insects trapped will most likely die.
Take note that regular, commercial sticky traps are not considered humane, particularly when small rodents or other small non-insect animals become trapped. Commercial sticky traps are never endorsed by any organisations concerned with animal rights.
These DIY traps will not be strong enough to trap a mouse or other small animal. Even some larger insects will probably be able to get away. As such, this should be taken into account if you are running numbers or doing serious monitoring. This all depends on the strength of the tape you use.
Please be mindful when/if you use sticky traps if animal cruelty is an important concern to you.
Step-by-step instructions
1 - Cut your cardstock
Cut your piece of card into rectangles of about 9 x 3 inches (8 x 24cm).
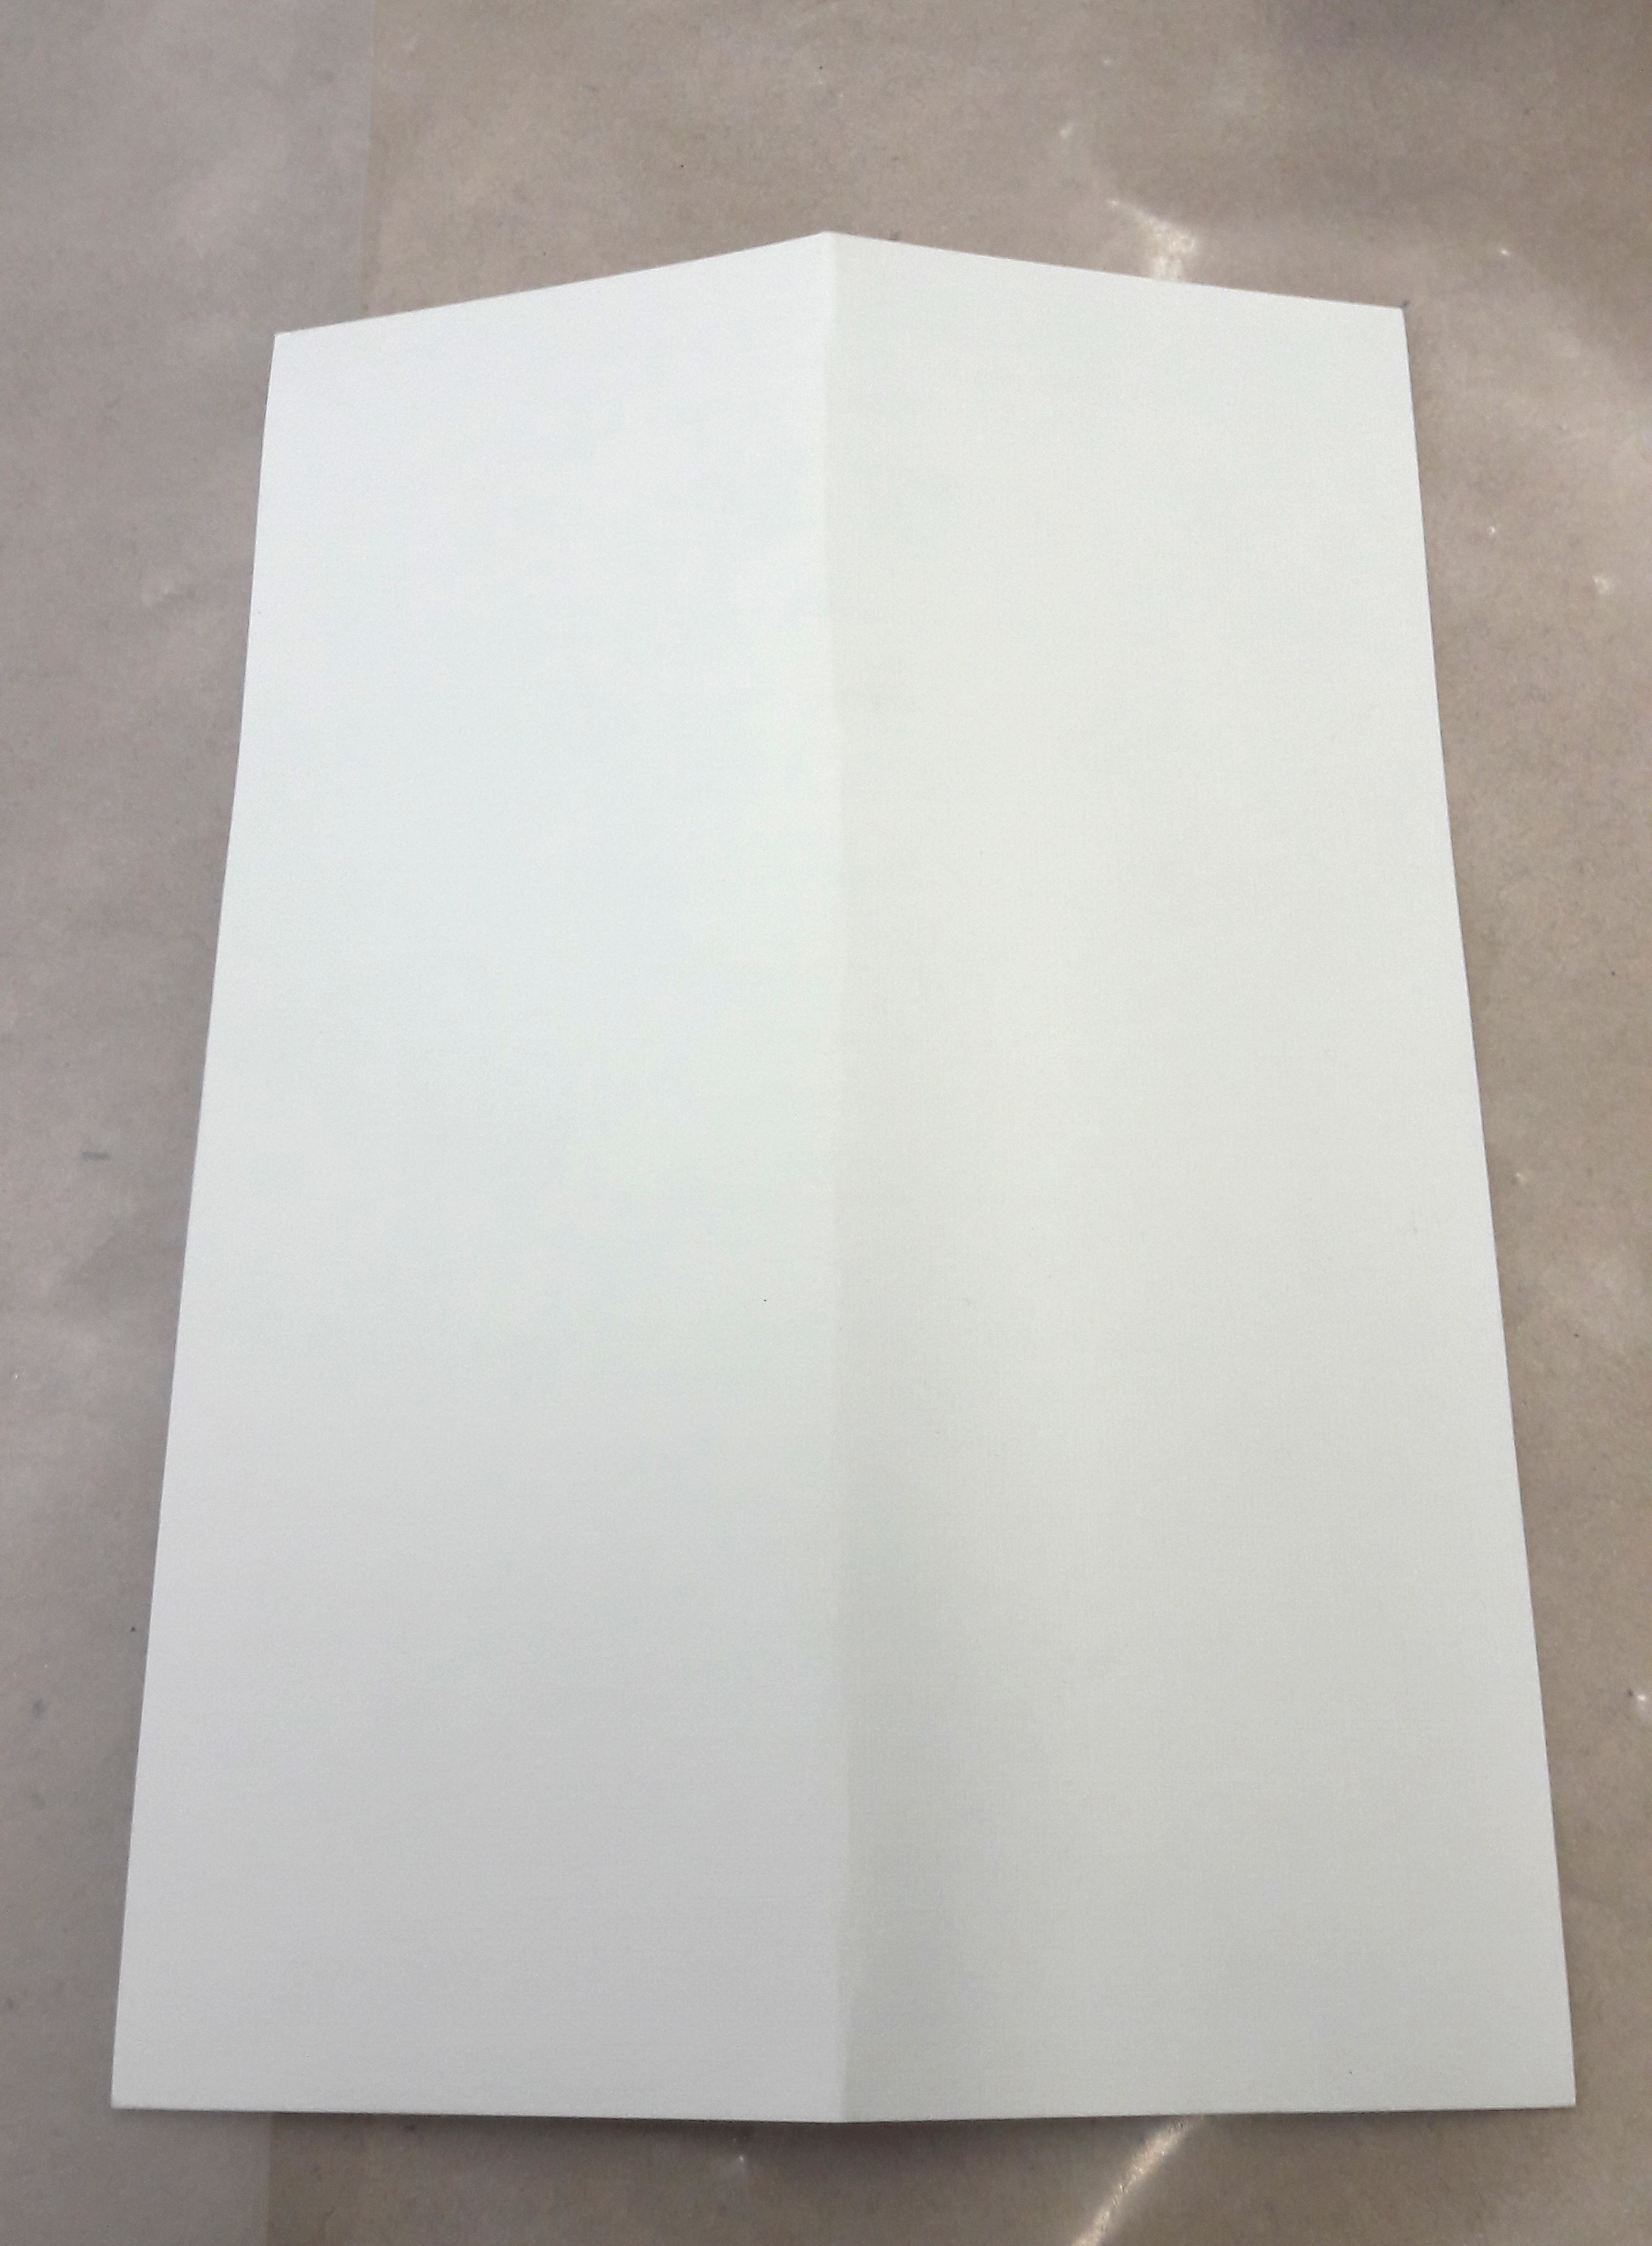
This is a big card that I cut in half down the middle.
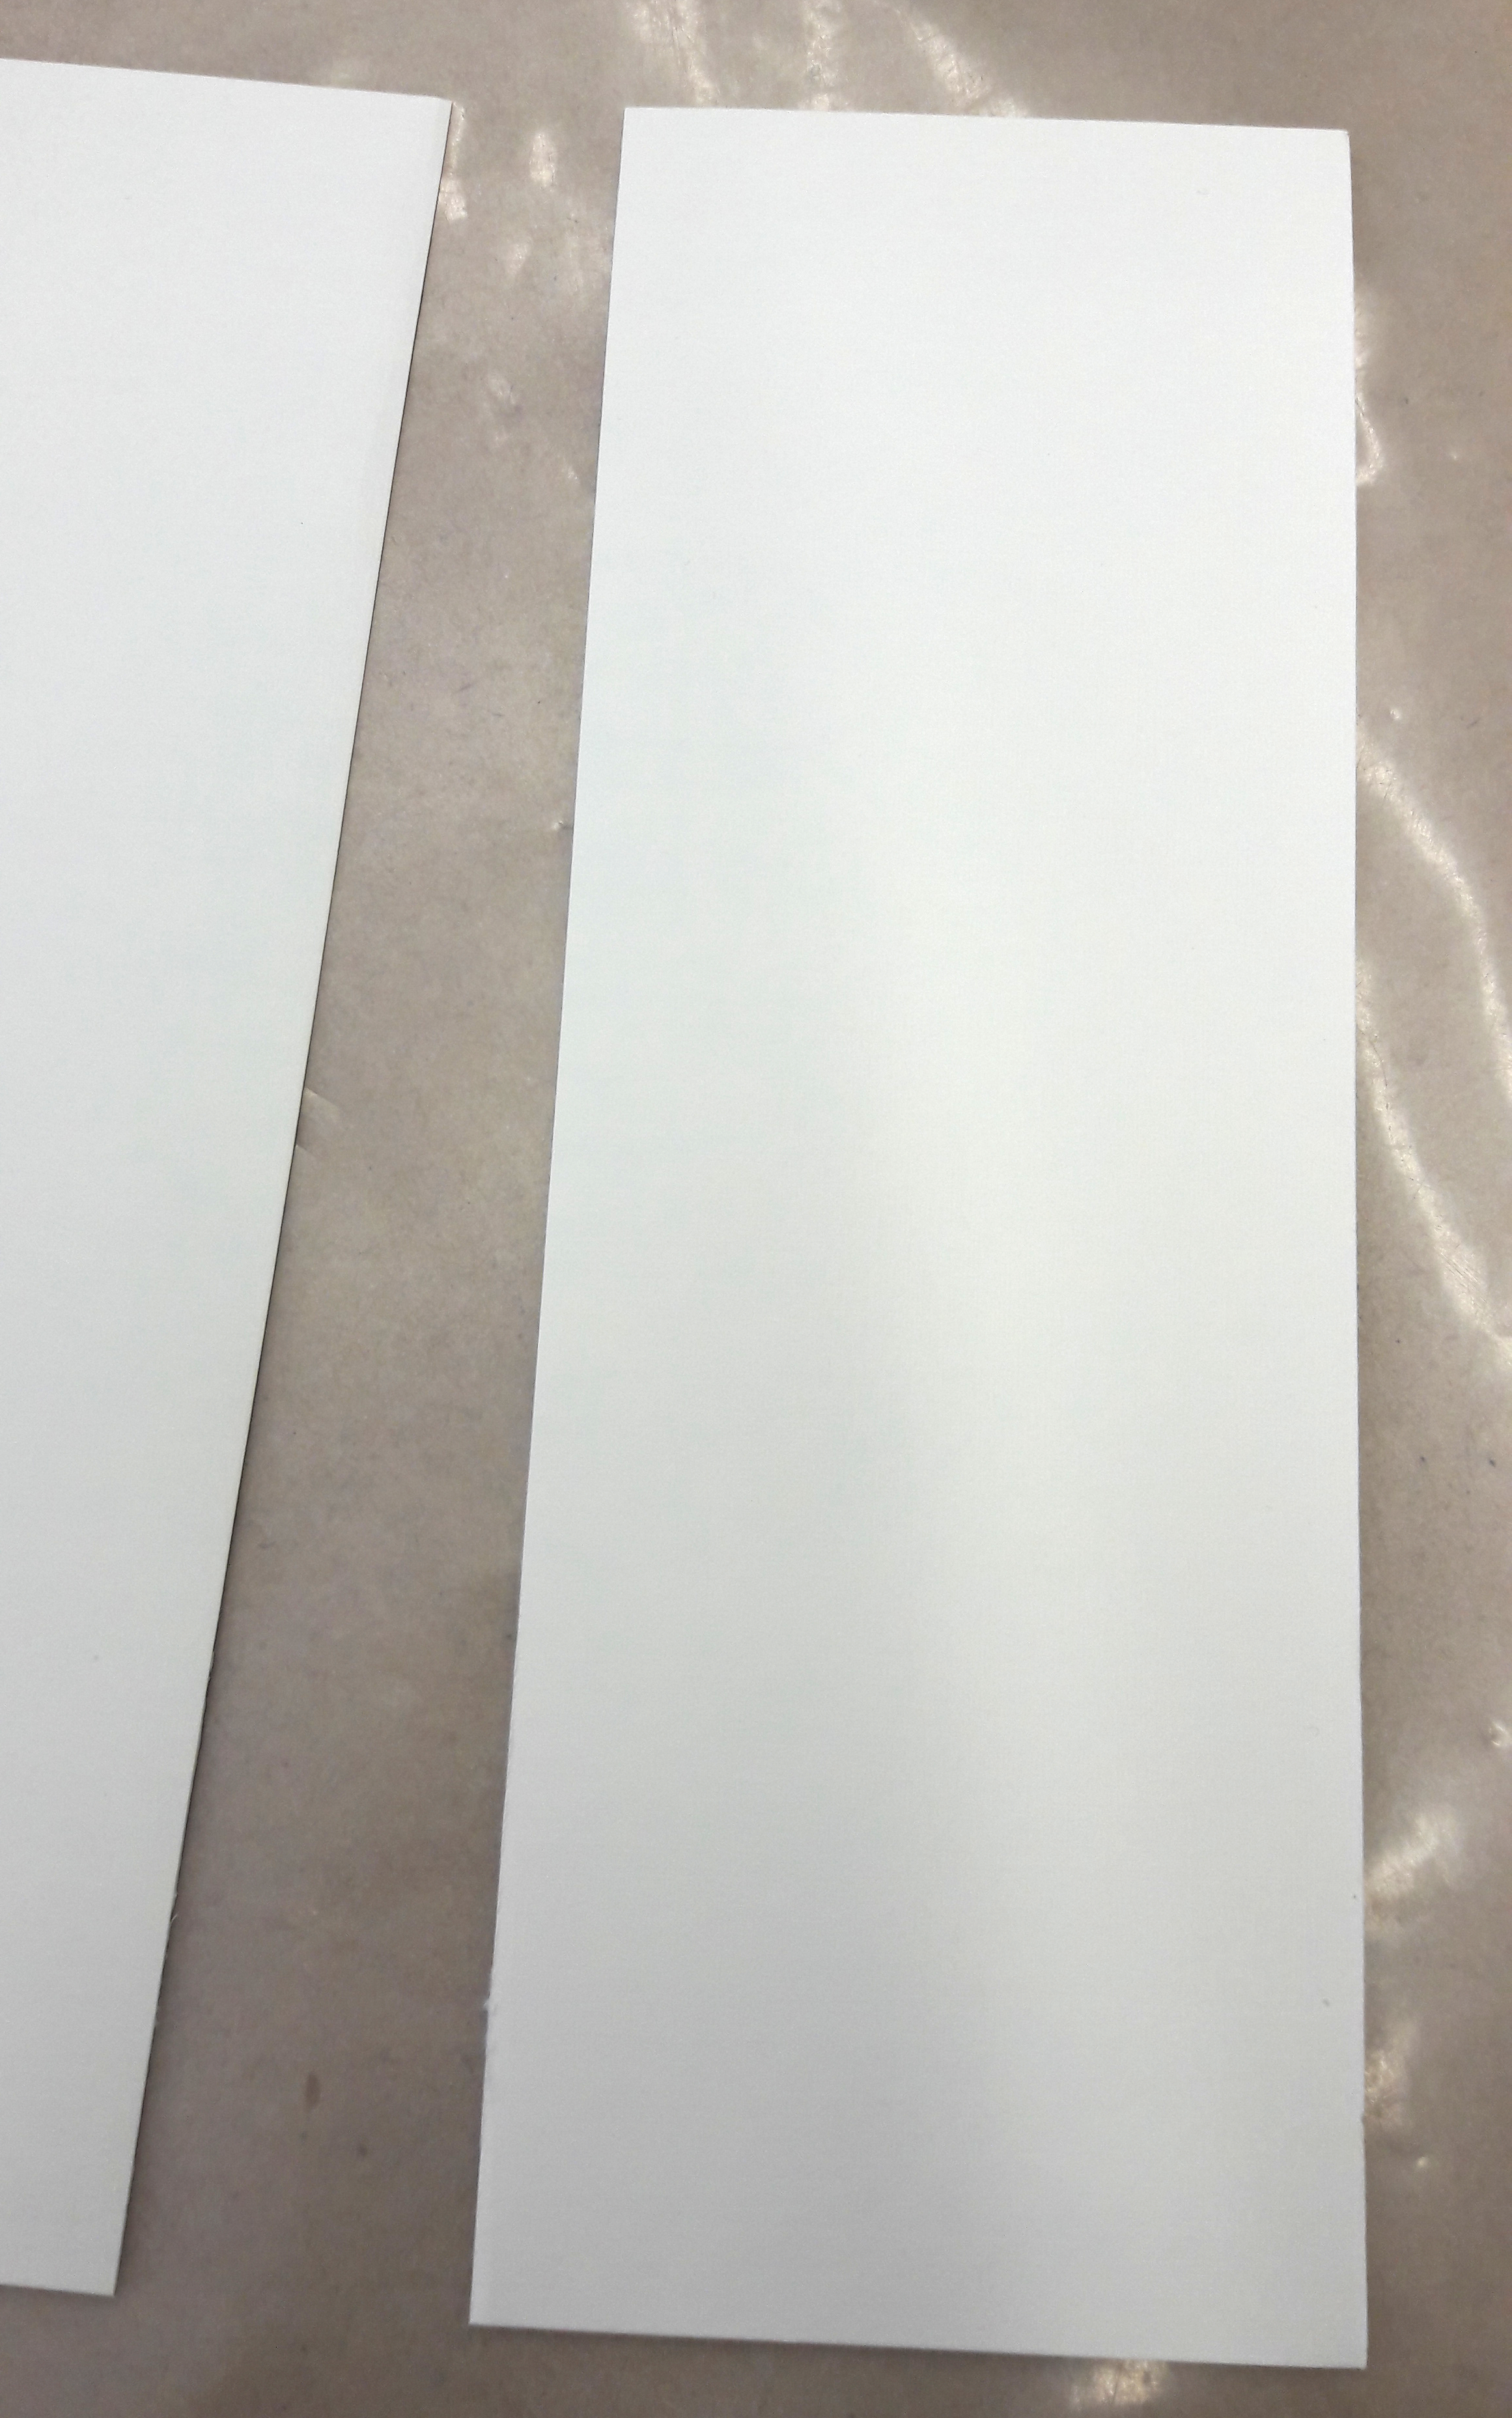
Rectangles ready.
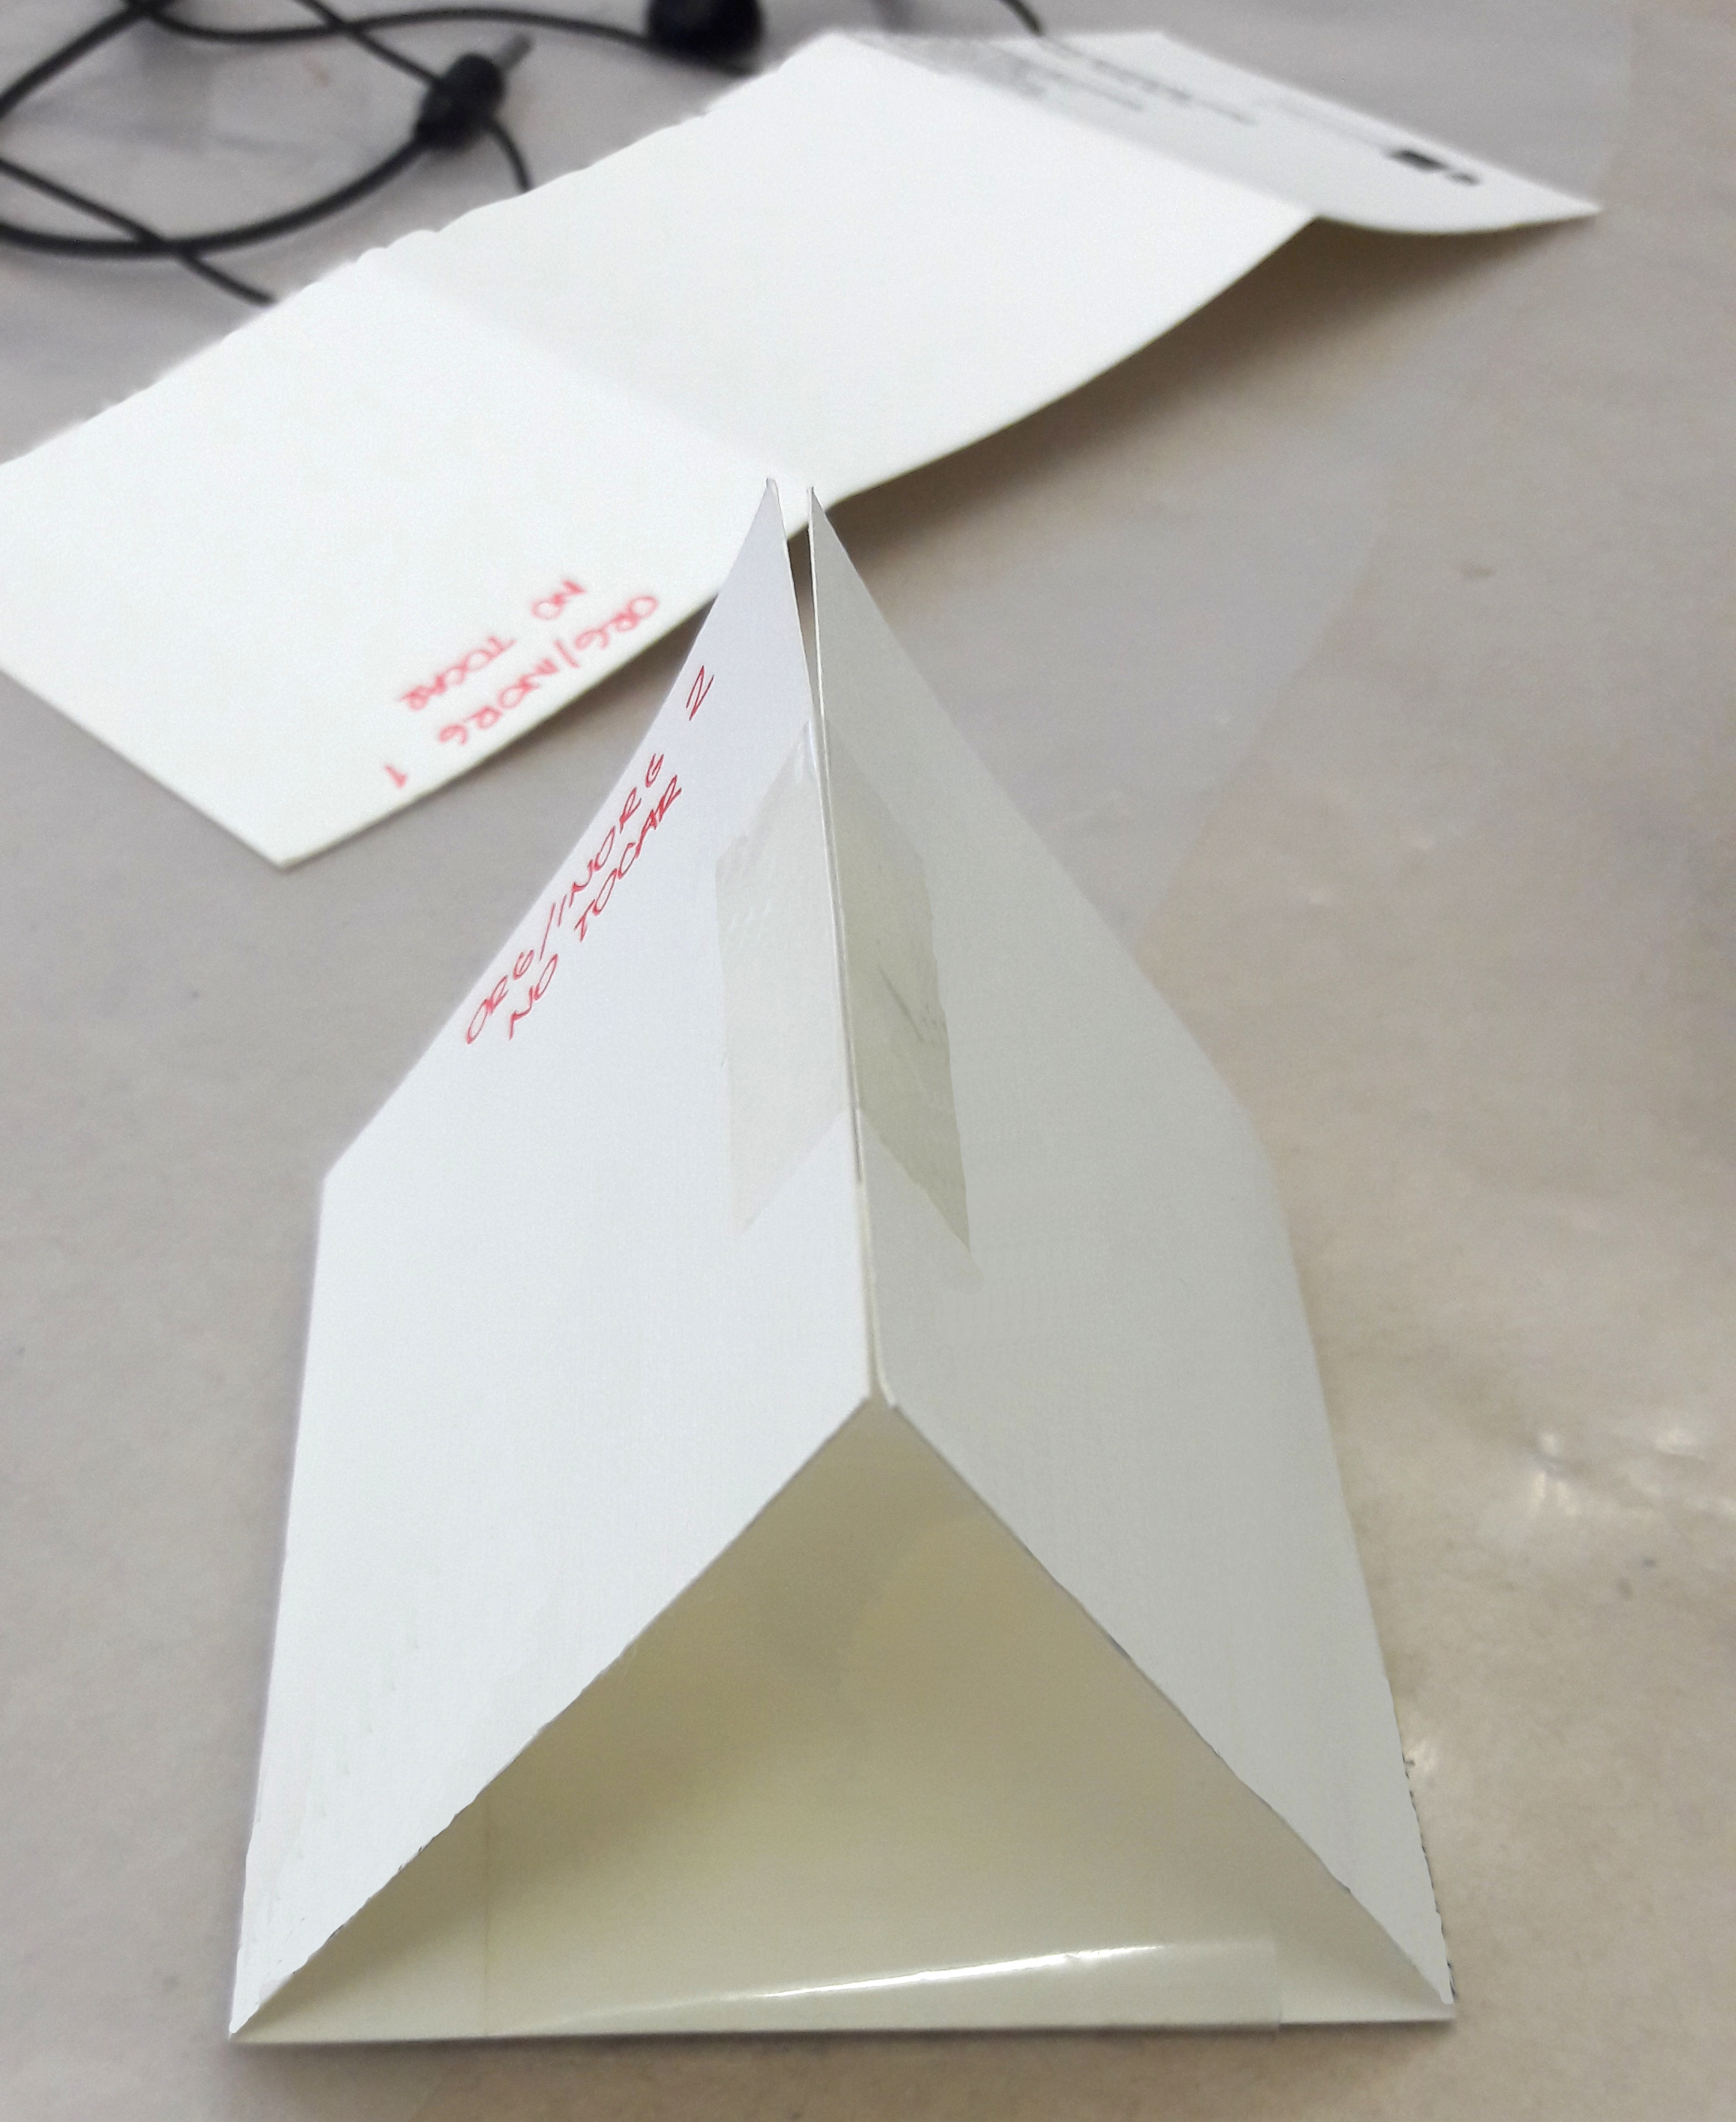
2 - Fold into shape
Fold your rectangle into thirds and make a triangle shape. Do not close it yet. Label your trap by putting the name and date on one of the outside edges. In the area in the middle that will become the base of your trap, place some of the wide tape, sticky side up.
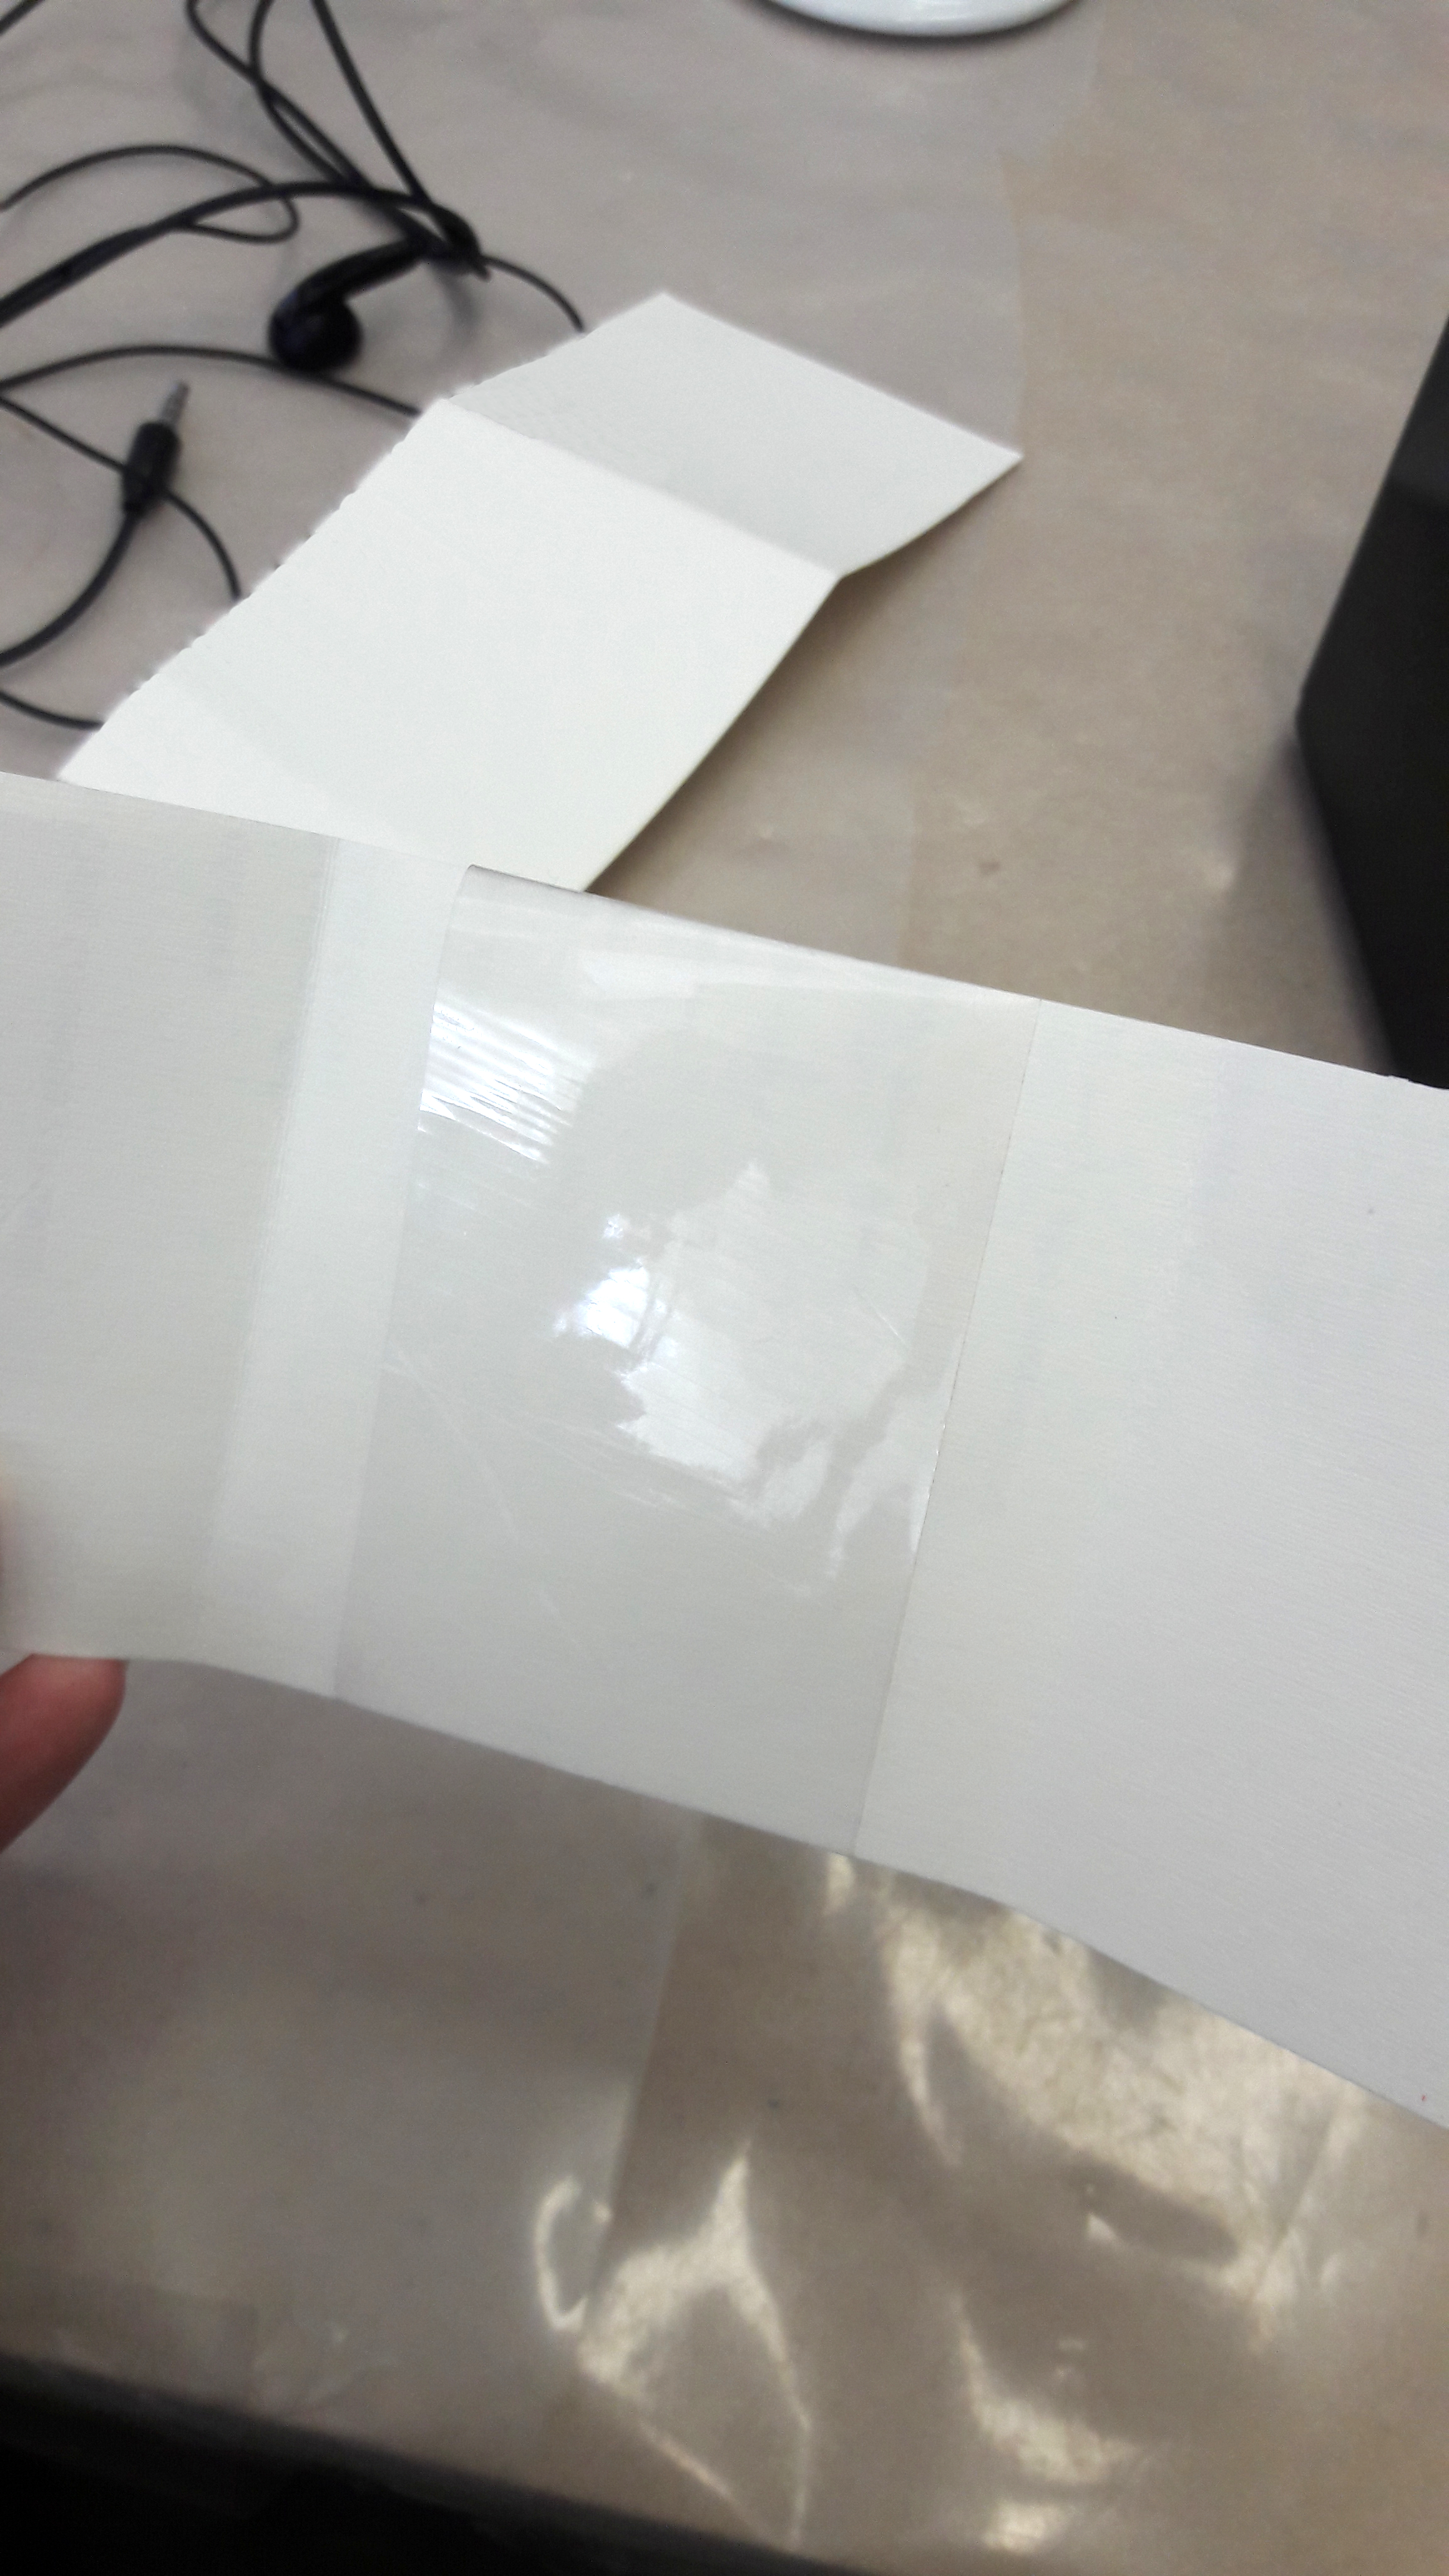
Place sticky tape in the middle of the trap. If you are using goo or any other adhesive, add it here. I was using transparent tape here.
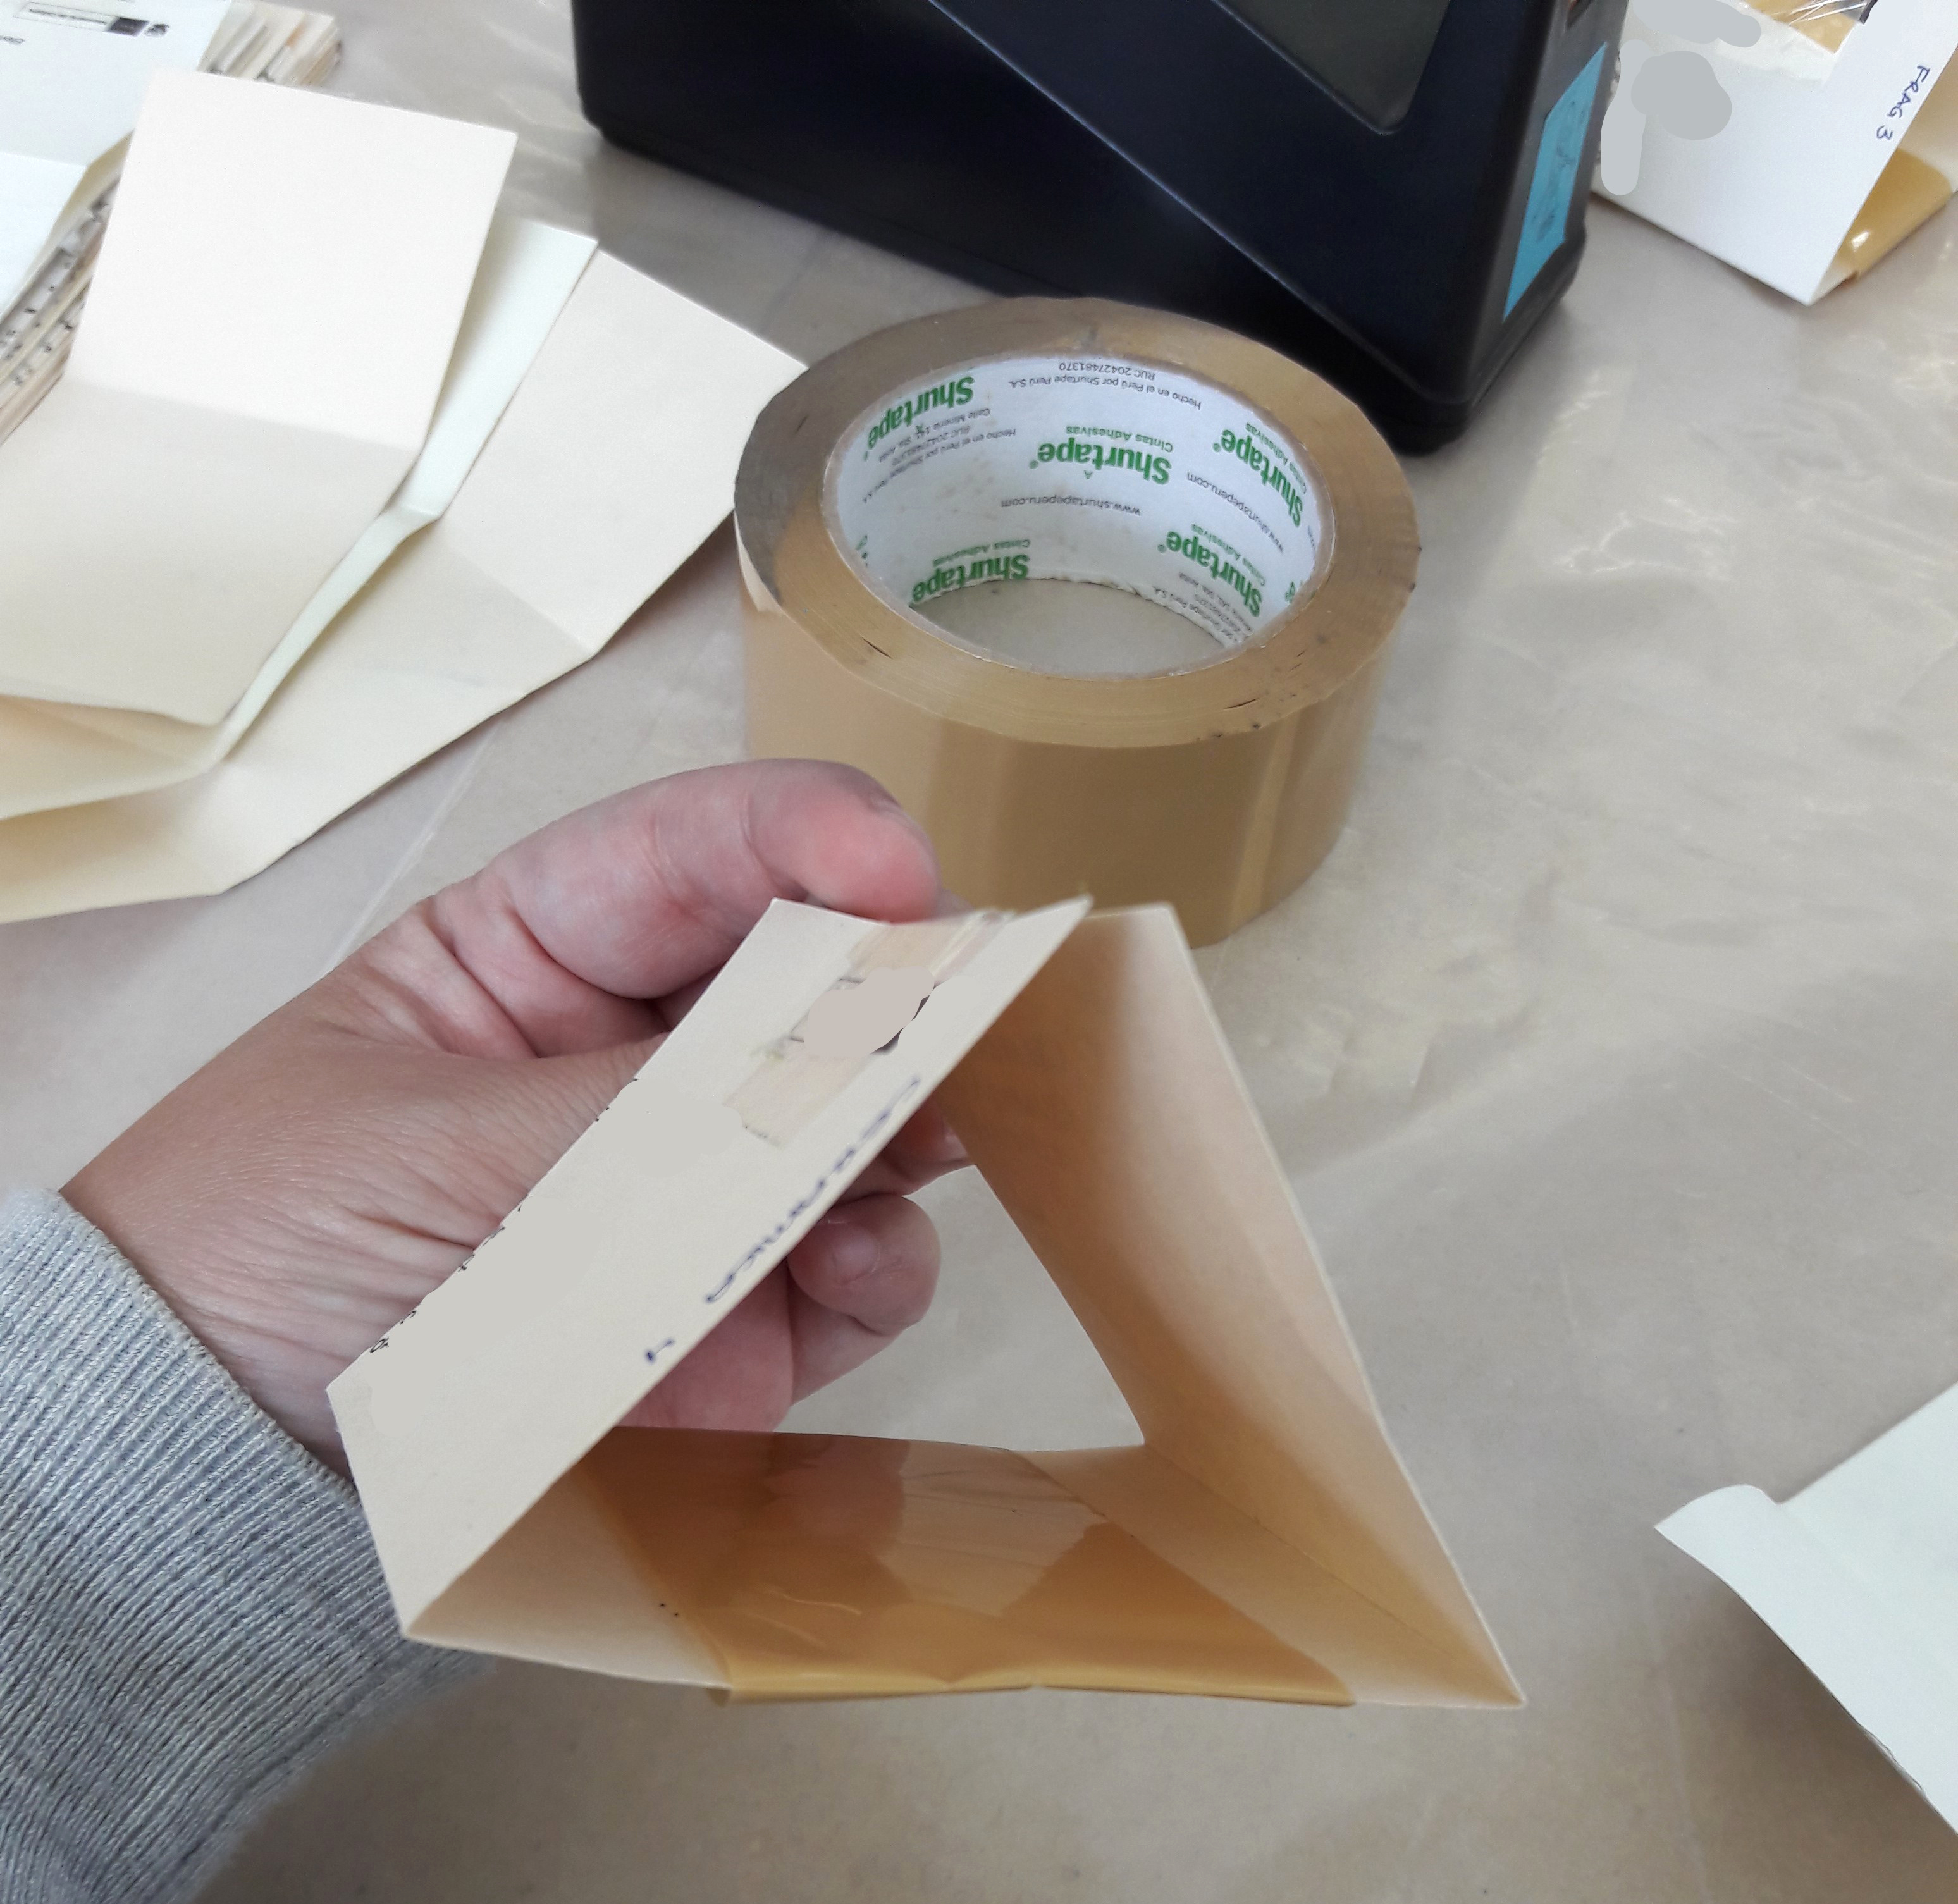
3 - Close the trap with tape
Close up your triangle shape with a bit of tape where the card ends meet.
Close up the trap with some tape joining up the top and bottom edges of your rectangular card.
4 - Secure the base
Secure the base tape with two small pieces of tape at the bottom, on the underside of your trap. Make sure the large adhesive tape remains taut against the card or the insects will walk under it in the space left between the card and the non-stick side of your wide tape.
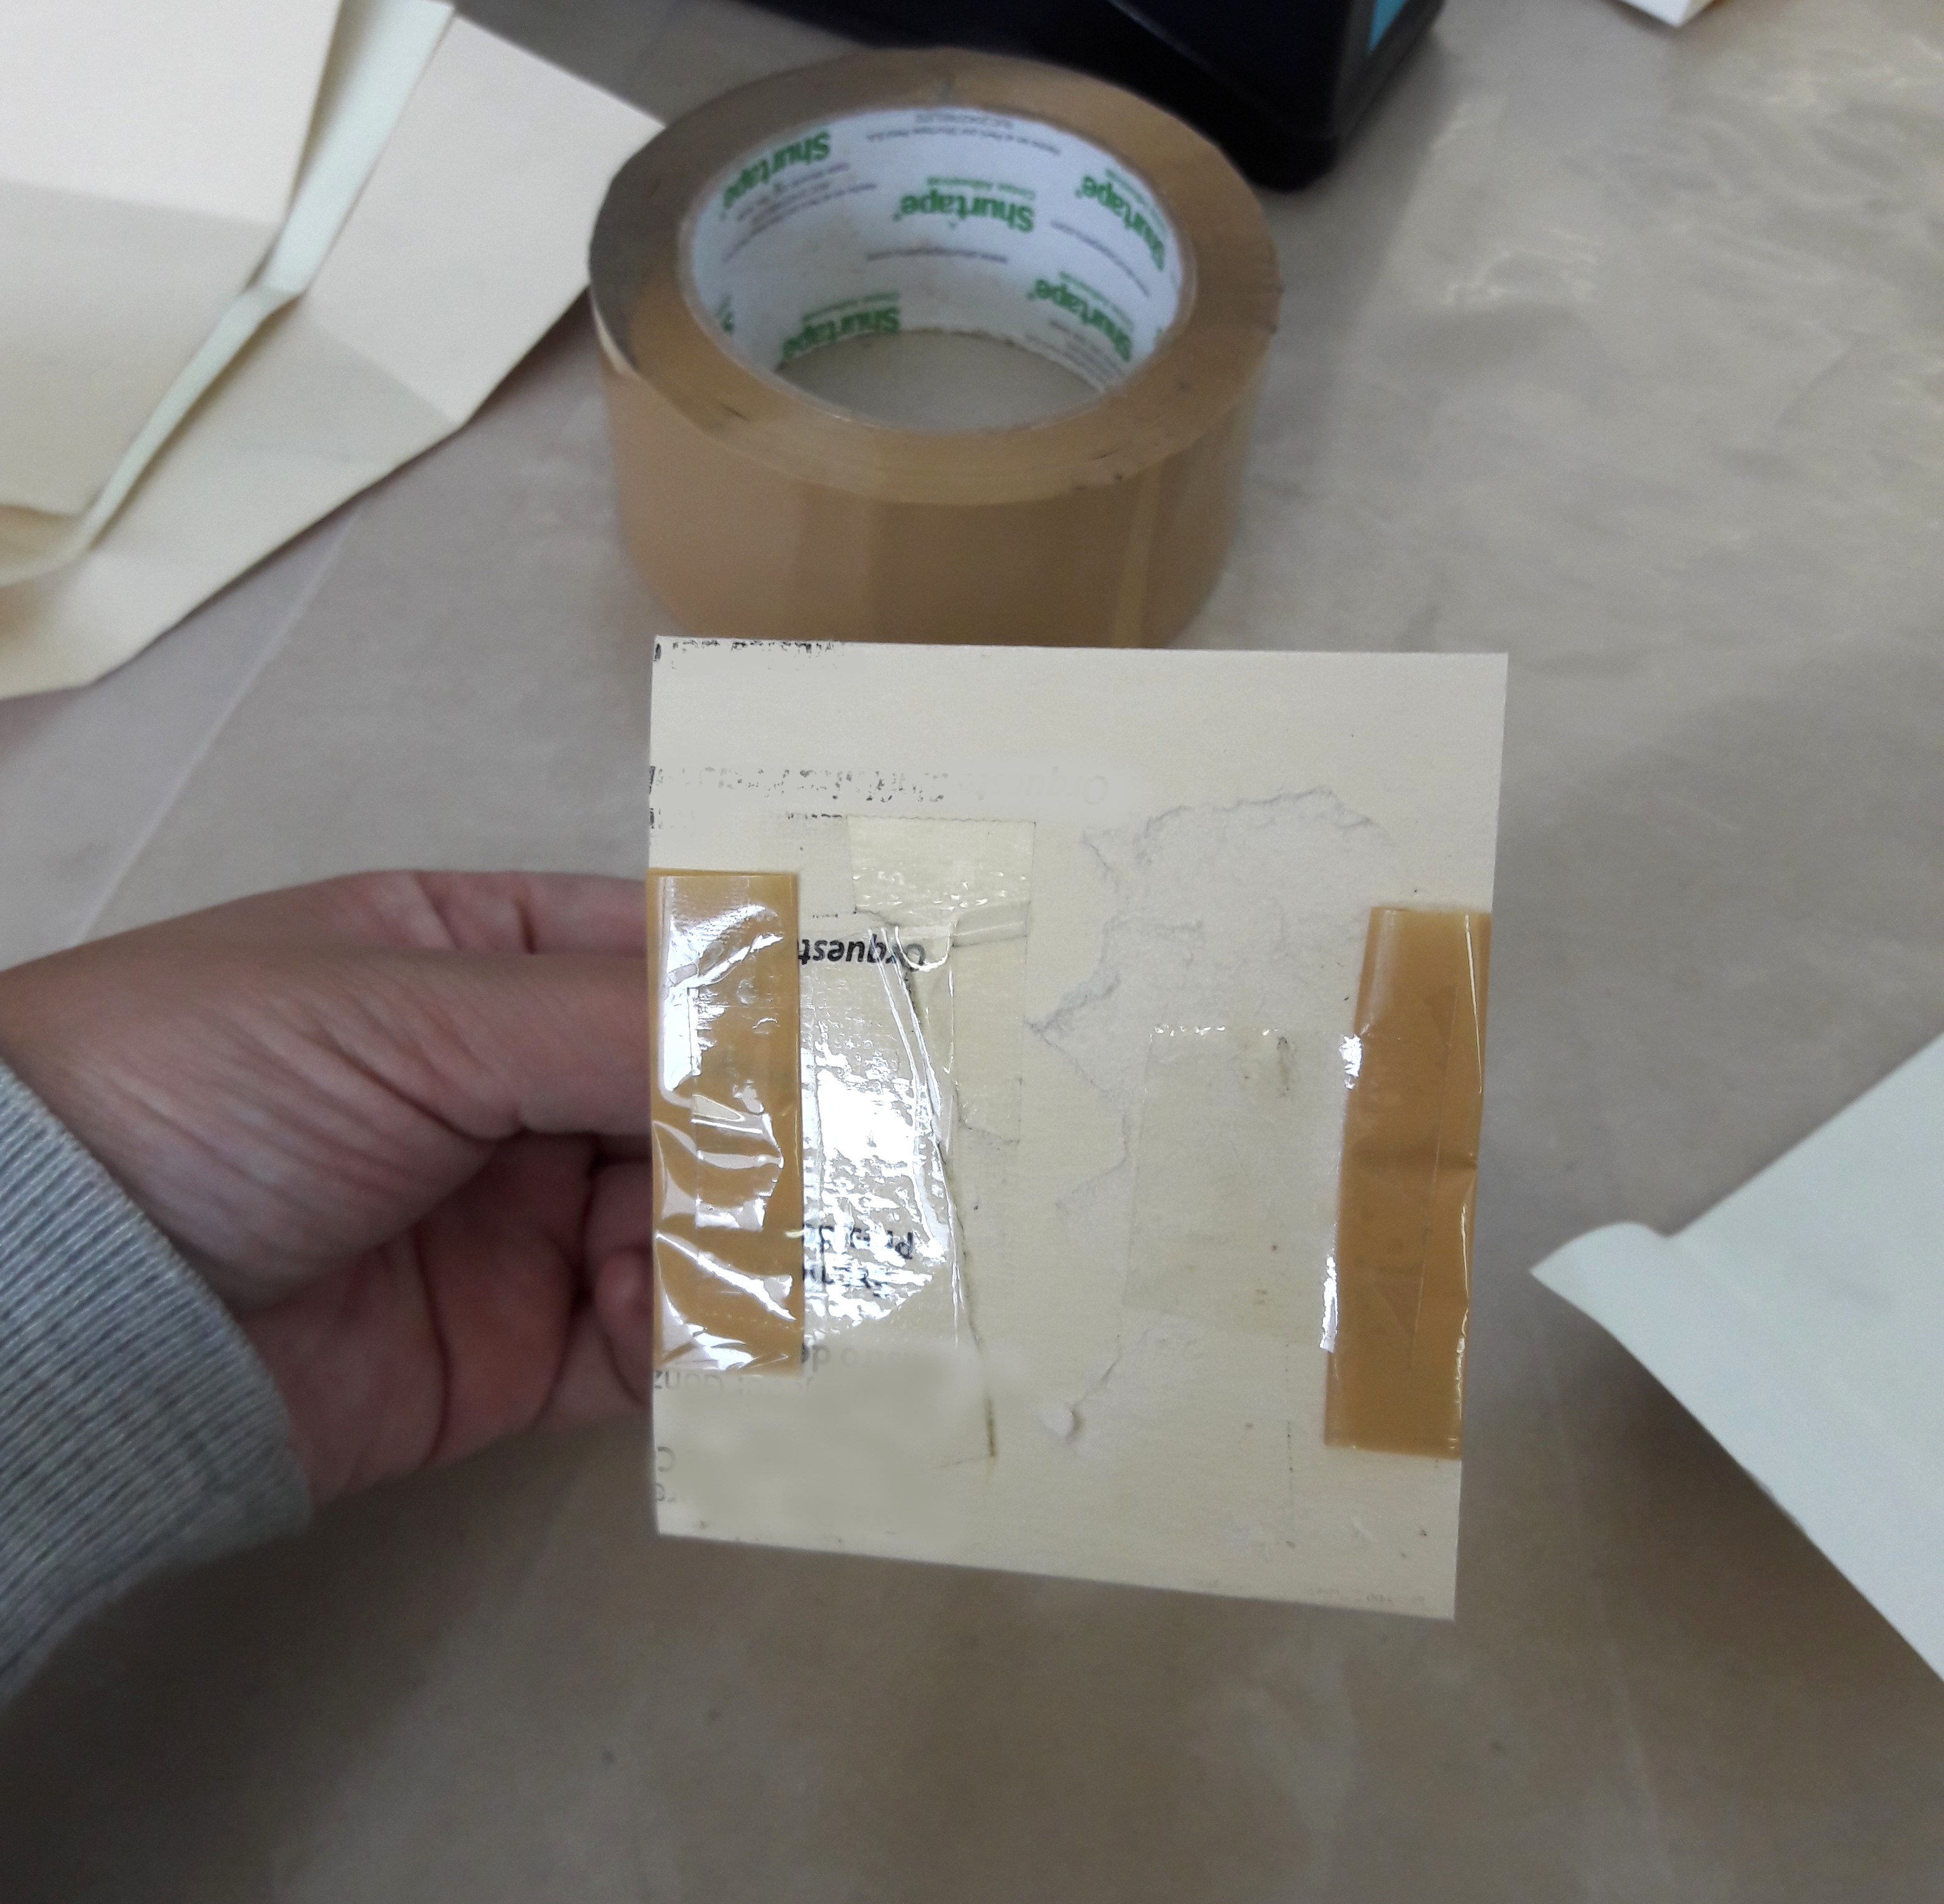
Use the regular tape to secure the edges of the large tape overflowing from the top of the trap. In this picture, I have used the brown wide tape for the base of the trap.
5 - Final result
Habemus bespoke insect trap!
Finished trap.
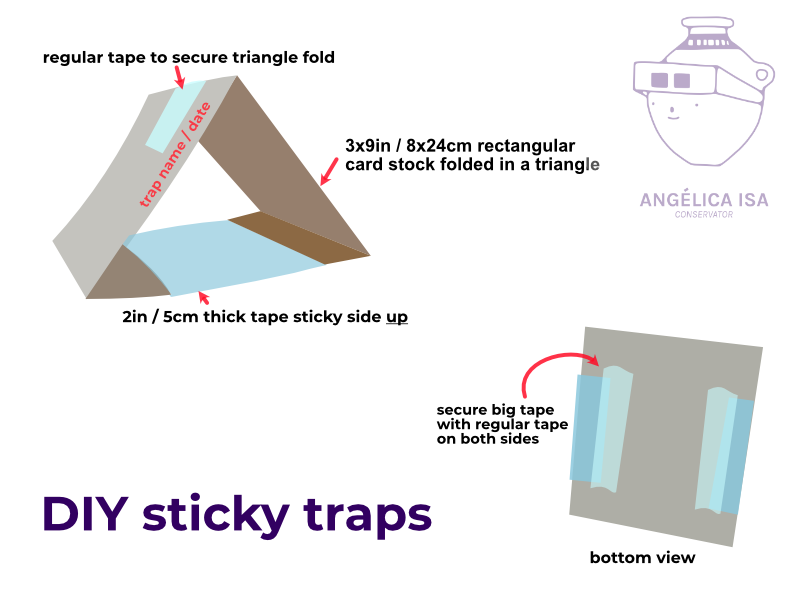
Diagram showing trap construction.
If you want, you can always cut out little windows on the (wall) sides of your triangle.
Also, if your card is thick enough and you are careful, you can even reuse these traps, just changing out the tape in the middle. You can kind of see I've done this in the photo in Step 4 above, where the card looks a bit worn where the old tape was pulled off.
If you liked this post, you can follow me on Twitter where I'll be posting more content on how to improve your collections at home.